by sefali | Oct 19, 2020 | Blog
One of the most critical elements in a classroom or office is engagement. But how do you foster a two-way communication environment where everyone feels involved? Enter magnetic wall paint—a revolutionary product that is reshaping how we think about our wall surfaces. Whether you are a teacher striving to keep students engaged or an office manager looking for innovative ways to increase productivity, magnetic wall paint can make all the difference.
Is There a Paint That Makes a Surface Magnetic?
As we mentioned, there are specialized paints like Super Magnetic Paint designed to transform your wall into a magnetic surface. This paint contain a high concentration of magnetite to provide an excellent level of magnetic strength. If you want even more, Magnetic Plaster will ensure your wall can hold anything from notes to more substantial items like keys or even small tools.
Does Magnetic Wall Paint Really Work?
Absolutely. Magnetic wall paint works by incorporating tiny iron particles within the paint mixture, providing a surface that magnets can adhere to. Products like Super Magnetic Paint offer an incredibly high level of magnetism—over 60% magnetite, to be precise, capable of holding up to 5 pages with just one neo magnet. So whether you’re pinning educational material or project timelines, magnetic wall paint is a solution that genuinely works.
Can You Paint a Wall to Make it Magnetic?
Yes, painting a wall to make it magnetic is not only possible but also quite straightforward. Applying Smarter Surfaces’ magnetic wall paint is similar to applying any other kind of paint. Keep reading for a step-by-step guide on how to apply magnetic wall paint to your walls effectively.
How To Apply Magnetic Wall Paint: Step by Step Guide
Applying magnetic wall paint is a simple yet transformative process. Follow these steps to turn your wall into a super magnetic surface:
1. Measure The Area
Carefully measure the area you wish to cover with magnetic wall paint to ensure you have enough paint. A standard tin of Super Magnetic Paint covers 65 sq ft with 4 coats.
2. Prepare The Surface
Ensure the surface is clean and dry. Any holes or cracks should be filled with a standard decorator’s filler. After that, apply one coat of Smart White Primer to prepare the wall for magnetic paint.
3. Stir The Magnetic Wall Paint
Before you begin applying the paint, make sure to stir it until liquid to ensure even distribution of magnetic particles throughout the mix.
4. Apply the Magnetic Wall Paint
We recommend applying 4 coats of Super Magnetic Paint for maximum magnetism. You can use either a roller or a brush for this step. If using a roller, opt for a short pile sleeve to achieve a smooth finish. Apply the first coat evenly and allow it to dry before moving on to subsequent coats.
5. Sand the Surface
After each coat of magnetic wall paint has dried, lightly sand the surface. This will ensure a smooth finish, enabling you to top-coat the magnetic wall with your chosen color, digital print, or even wallpaper.
6. Allow to Dry
Let the magnetic wall paint dry for at least 24 hours. This is crucial for the paint to cure and offer maximum magnetic strength.
7. Magnets
For the best performance, opt for specialized magnets like Smart Neo-Magnets. Ordinary household magnets may not be powerful enough to hold items securely on the magnetic wall paint.
The Benefits of Magnetic Wall Paint in Classrooms and Offices
Let’s look at why magnetic wall paint is revolutionizing learning and working environments.

For Classrooms
- Interactive Learning: With magnetic wall paint, education is no longer a one-way street.
Teachers can get groups of students up and working at the magnetic wall, fostering a more engaged and collaborative environment.
- Multi-Functional: Teachers can upgrade the magnetic wall paint with products like Whiteboard Wallpaper for a dual-function dry erase and magnetic surface.
- Environmentally Friendly: Products like Super Magnetic Paint are low VOC, solvent-free, and isocyanate-free, making them safe for children.
For Offices
- Transform Collaborative Spaces: Planning, scheduling, brainstorming, and more can be effortlessly done on a wall coated with magnetic wall paint.
- Versatility: Offices can benefit from multi-functional surfaces by top-coating magnetic wall paint with Smart Whiteboard Wallpaper – Low Sheen, which offers both dry erase and projection capabilities.
- Sustainable Option: Just like in classrooms, magnetic wall paint in offices is a greener choice due to its low VOC and solvent-free nature.
Further Customization and Products
For Classrooms
- Whiteboard Wallpaper: Upgrade the magnetic wall with a layer of whiteboard wallpaper for a multi-functional learning surface.
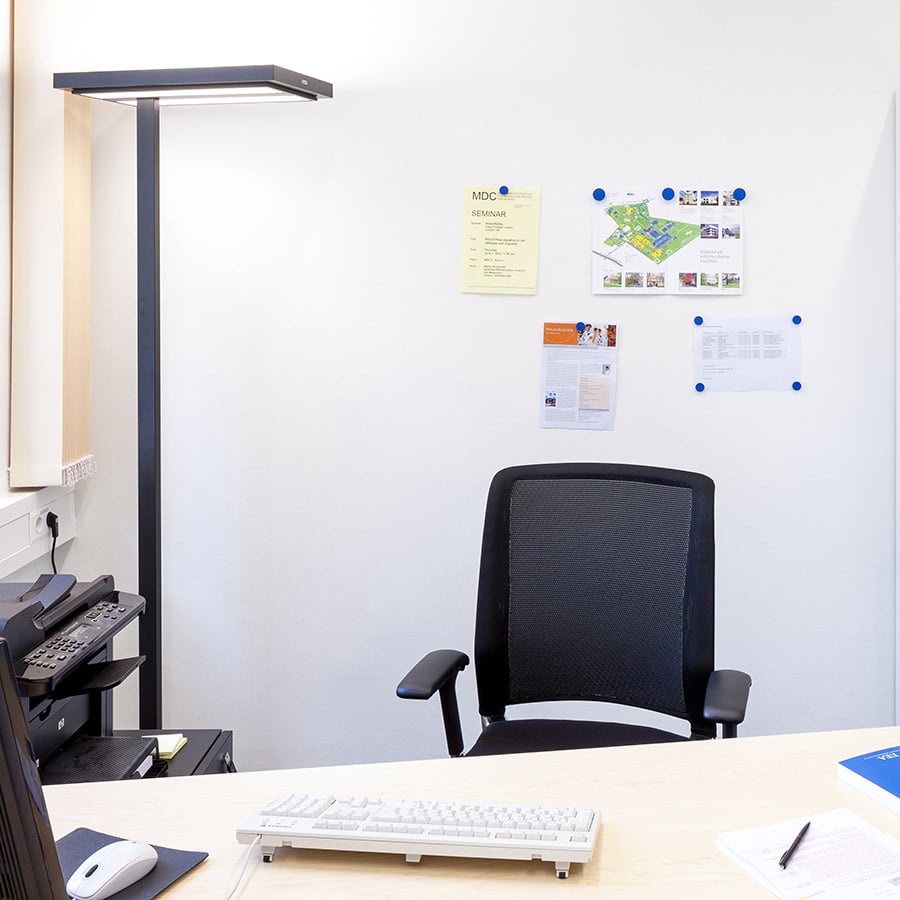
- Magnetic Plaster: For those who prefer plaster over paint, magnetic plaster offers an impressive 75% magnetite content, making it the strongest magnetic product for wall surfaces in classrooms.
For Offices
Magnetic wall paint has opened up a world of possibilities for both classrooms and offices. Whether it’s to create an interactive learning environment for students or to facilitate better project management in the office, magnetic wall paint provides a modern, customizable, and environmentally friendly solution.
So, why settle for traditional walls when you can easily upgrade to a magnetic surface? Transform your classrooms and offices today with magnetic wall paint and experience the difference it can make in fostering engagement, collaboration, and productivity.
by sefali | Oct 19, 2020 | Blog
Traditional whiteboards have been the go-to option for brainstorming, teaching, and planning for years. However, as technology and innovation progress, more whiteboard alternatives are emerging that offer various features and functionalities. From offices to classrooms and even home offices, whiteboard alternatives are transforming how we communicate, share ideas, and collaborate.
In this article, we will dive into what can be used to replace traditional whiteboards and discuss eco-friendly alternatives. At Smarter Surfaces, we offer a range of dry erase products that serve as excellent whiteboard alternatives for office spaces, classrooms, and more.

Why Consider Whiteboard Alternatives?
First off, let’s ask why you might want to consider whiteboard alternatives for classroom settings, offices, or home offices. Traditional whiteboards are great, but they have limitations:
- Size Constraints: Traditional whiteboards have size limitations. If you need a larger surface to capture all your big ideas, then a regular whiteboard might not suffice.
- Eco-Friendly: Many traditional whiteboards are not recyclable, contributing to waste.
- Aesthetic: Let’s face it; traditional whiteboards aren’t exactly a design feature. If you’re looking for something that blends seamlessly into your interior, you may want to consider other options.
Let’s explore some of the top whiteboard alternatives.
Dry Erase Products: A Whole New World of Whiteboard Alternatives for Office & More
Smarter Surfaces provides three major types of dry erase products that can replace traditional whiteboards: whiteboard wallpaper, whiteboard paint, and self-adhesive whiteboard films.
Whiteboard Wallpaper: A Viable Whiteboard Alternative for Classrooms and Offices
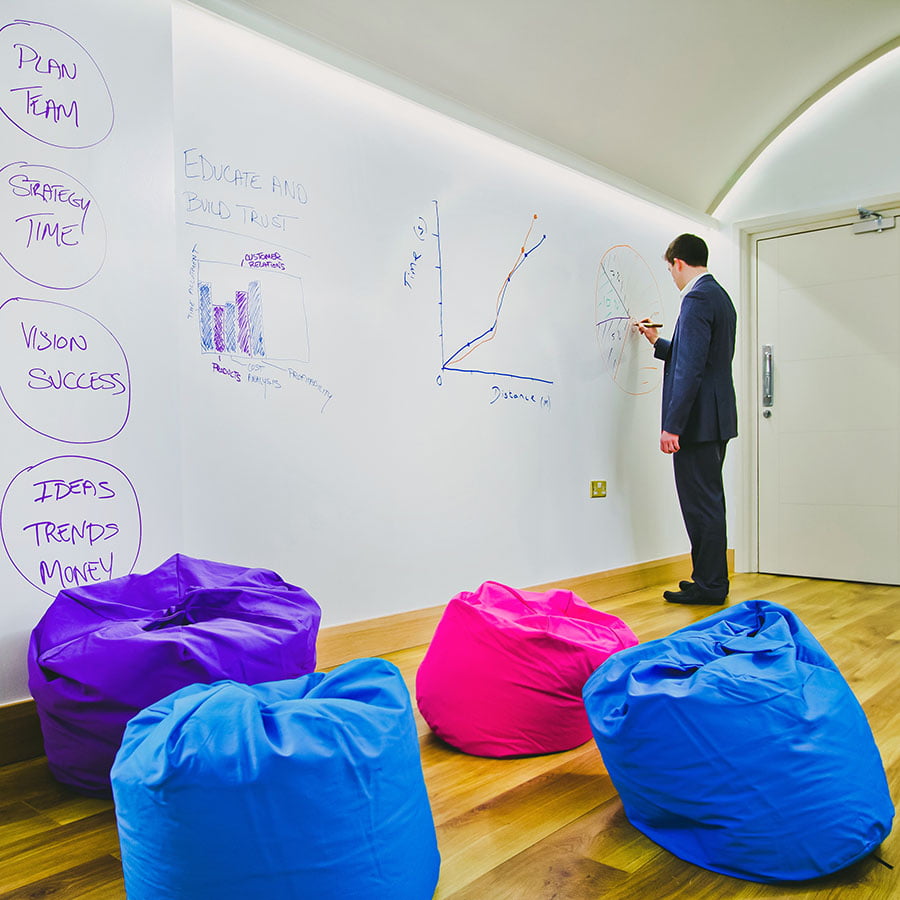
One of the best whiteboard alternatives is the Whiteboard Wallpaper from Smarter Surfaces. This high-performance, easy-to-install dry erase wallpaper offers:
- Superior Performance: Surpassing traditional whiteboards in quality and durability.
- Versatile Functionality: Transform any surface into a high-performing dry erase area.
- Enhanced Collaborative Spaces: Ideal for offices, meeting rooms, and classrooms.
- Large-Scale Writable Surfaces: Break free from size constraints with limitless space.
How do you apply Whiteboard Wallpaper? Installation is quick, and the only drying time required is for the adhesive. The product comes pre-finished, allowing you to use it within 24 hours of installation.
Smart Whiteboard Wallpaper – Low Sheen
If you’re searching for whiteboard alternatives for office spaces or classrooms that require projection capabilities, the Smart Whiteboard Wallpaper – Low Sheen is an excellent choice. This product not only serves as a whiteboard but is also compatible with all types of projectors.
- Easy Installation: Like any wallpaper, easy to hang.
- Boost Creativity and Productivity: Ideal for presentations and collaborative work.
- Optimized for Natural Light: The low sheen finish reduces glare, making it easier to read and write.
Magnetic Projector Screen Whiteboard Wallpaper
Taking whiteboard alternatives to the next level, Smarter Surfaces offers the Smart Magnetic Projector Screen Whiteboard Wallpaper. This product goes beyond traditional whiteboard functionality by offering three features: it’s magnetic, projectable, and writable with dry erase markers.
- Magnetic, Writable & Projection Surfaces: Experience the benefits of a magnetic surface, writable whiteboard, and projection screen all rolled into one.
- Versatile Projection Compatibility: Suitable for standard, interactive, 3D, and 4K projectors.
- Modern Workspaces & Easy Installation: Convert entire walls into a multi-functional surface.
This product stands out as one of the most versatile whiteboard alternatives for modern offices, schools, and more.
Smart Whiteboard Paint
Another excellent option when looking for whiteboard alternatives is Smart Whiteboard Paint. This paint can be applied to almost any smooth surface, transforming it into a dry erase board.
- Unleash Creativity & Boost Collaboration: Create interactive surfaces for ideation and strategizing.
- Maximize Efficiency: A cost-effective solution, eliminating the need for multiple boards.
- Sustainability and Longevity: Contribute to a greener future by eliminating paper waste.
It’s perfect for those who want a seamless, integrated look while maintaining the functionality of a whiteboard.
Self-Adhesive Whiteboard Film
Last but not least, if you’re looking for whiteboard alternatives that can be easily applied to furniture and partitions, consider Smart Self Adhesive Whiteboard Film. This product is ideal for instant results and can be used immediately after installation.
- Easy Installation: Apply it yourself and start using it right away.
- Workspace Refurbishment: Revitalize your workspace by applying it to desks, tables, and windows.
- Stain Resistant, Environmentally Friendly: A sustainable option for those looking to reduce waste.
With a shift towards dynamic, flexible work and learning environments, whiteboard alternatives are gaining popularity for their versatility, design integration, and eco-friendliness. From whiteboard wallpapers to whiteboard paint and self-adhesive films, Smarter Surfaces offers a plethora of options that serve as excellent whiteboard alternatives to traditional setups.
When it comes to whiteboard alternatives for classrooms, offices, or even your home, the possibilities are limitless. Upgrade your space today with these innovative solutions.

by sefali | Oct 19, 2020 | Blog
Whether you’re a startup trying to foster creativity or a corporate office aiming to maximize productivity, your conference room is a vital space. The technology and amenities you select can significantly impact your team’s ability to communicate effectively. One indispensable piece of the puzzle is the conference room whiteboard.
What Technology Do You Need in a Conference Room?
When planning your meeting room, the basics like a table, chairs, and a projector are given. But a conference room whiteboard can be a game-changer. Nowadays, we even have conference room dry erase boards that are magnetic, projectable, and interactive, catering to diverse needs. For example, you might want to check out products like Whiteboard Wallpaper, designed for high performance and easy installation.
Why Traditional Whiteboards are Not Enough
Have you considered upgrading your meeting room beyond a simple whiteboard? If you’re looking to truly revolutionize your workspace, a dry erase wall covering like Smart Whiteboard Wallpaper can be transformative. Here’s why:
- Create Large-Scale Writable Surfaces
Imagine transforming an entire wall into a writable surface. With Smart Whiteboard Wallpaper, this idea becomes a reality. No longer will you be confined to small boards or flipcharts, now you can have entire walls to explore ideas upon. Your conference room whiteboards can now be as large as your imagination allows.
- Superior Performance
Smart Whiteboard Wallpaper surpasses traditional conference room whiteboards in quality and durability. It even comes with a 10-year guarantee! So, not only will your space be more functional, but it will also stand the test of time.
- Versatile Functionality
You can also opt for a specialized variant of this product, Smart Whiteboard Wallpaper – Low Sheen. This particular whiteboard wallpaper serves a dual purpose; it functions as a top-performing projector screen while retaining dry erase capabilities. Say goodbye to outdated projectors and hello to dynamic, interactive presentations.
What Are the Benefits of Using an Interactive Whiteboard During a Video Conference?
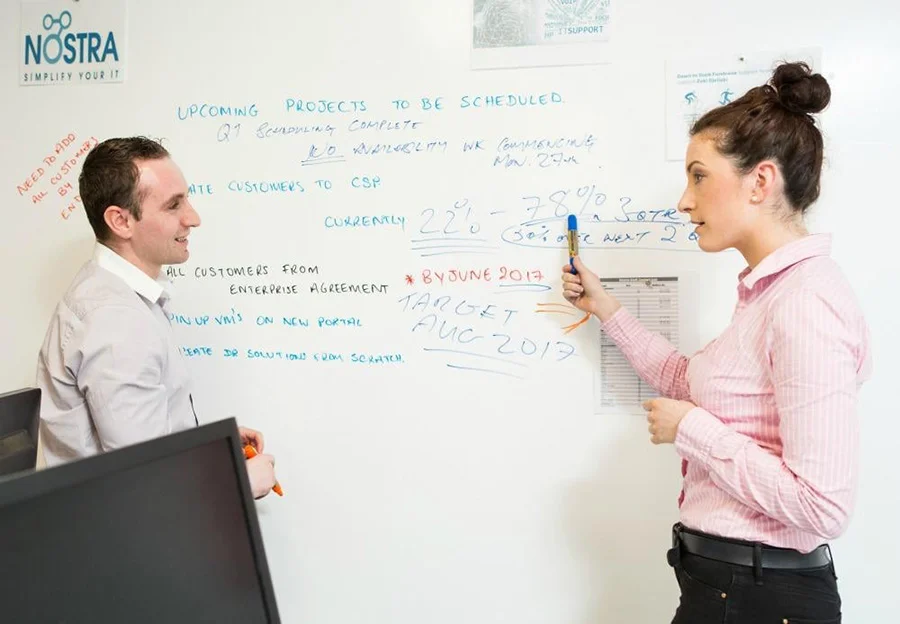
Interactive conference room whiteboards offer significant advantages. They allow real-time collaboration, making your meetings far more engaging and productive. Coupled with video conferencing technology, an interactive whiteboard ensures that even remote participants can actively engage with on-site teams. A dual-function product like Magnetic Projector Screen Whiteboard Wallpaper can significantly amplify these benefits.
What’s the Size of a Meeting Room Whiteboard?
When it comes to conference room whiteboards, size does matter. If you’ve been making do with small, restrictive boards or flipcharts, it’s time to expand your writeable surface. Dry erase wall coverings, like Smart Whiteboard Wallpaper, offer limitless possibilities in terms of size. Transform an entire wall or even multiple walls into a large, interactive surface, perfectly tailored to the size of your room and your team’s needs.
The Whiteboard Approach: A Paradigm Shift in Collaborative Working
The whiteboard approach is not just about having a writing surface; it’s a whole new way of thinking and working. It encourages everyone in the room to stand up, walk over to the wall, and directly engage with the discussion at hand.
For example, if you’re brainstorming names for a new product, team members can jot down their ideas directly on the wall. With a multi-functional board like Magnetic Projector Screen Whiteboard Wallpaper, you can even stick up images of products, website designs, and much more using its magnetic functionality.
Why Dry Erase Wall Coverings Are the Future
Let’s say you opt for the Smart Whiteboard Wallpaper – Low Sheen. With its low-sheen finish, this wall covering reduces glare, making it easier to read and engage with the content compared to a standard conference room whiteboard. It’s environmentally friendly and can be installed like any other wallpaper, giving you a writable and projectable wall surface in one simple step.
- See the Big Picture
Dry erase wall coverings allow you to view everything in a single glance — no more flipping through pages or erasing precious information due to space constraints.
- Foster Interactive Presentations
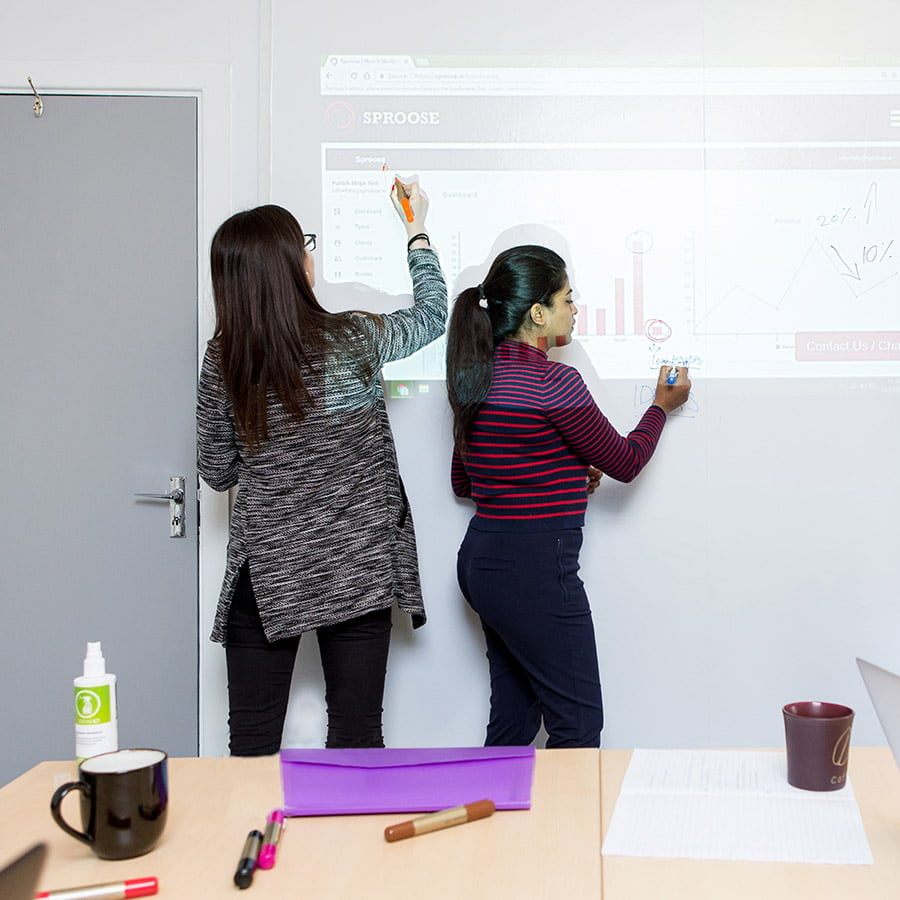
Imagine projecting the meeting agenda or a new website design onto the wall. Team members can immediately write their feedback or make changes, all in real-time. Once the meeting concludes, simply take a photo of the wall and circulate it among attendees for future reference.
In today’s rapidly evolving work environment, your conference room should be as dynamic and adaptable as your team. By integrating advanced conference room whiteboards and dry erase wall coverings into your space, you’re not just making walls writable — you’re opening doors to endless possibilities for collaboration and creativity. From Smarter Surfaces’ Smart Whiteboard Wallpaper to their Magnetic Projector Screen Whiteboard Wallpaper, the future of effective conference rooms is here, and it’s more interactive and engaging than ever before.
So, the next time you think of upgrading your meeting room, don’t just settle for any whiteboard; choose a solution that will truly make your space smarter and more collaborative. After all, it’s not just a conference room whiteboard; it’s a window to a more effective and engaging work environment.
by sefali | Oct 19, 2020 | Blog
Have you ever felt constricted by the traditional, framed whiteboards, typically found on the walls of classrooms, offices, and conference rooms? If you’re looking to add a dash of modernity and boundless creativity to your space, it’s time you turned your wall into a whiteboard. In this how to turn a wall into a whiteboard guide, we’ll explore the reasons to make this transformation, dive deep into the how-to’s, and answer some of your most pressing questions about turning a wall into a whiteboard.
Why Turn Your Wall Into a Whiteboard?
1. An Array of Choices Tailored to Your Needs
One of the best aspects when thinking about how to turn a wall into a whiteboard is the wide range of products available for every requirement and aesthetic.
What Paint Allows You to Write on Walls?
Two whiteboard paint products you should consider when looking at how to turn a wall into a whiteboard are Matte Whiteboard Paint and Smart Whiteboard Paint. Matte Whiteboard Paint offers a unique, matte finish that also improves light reflectivity, making it ideal for environments where projectors or screens are often used. On the other hand, Smart Whiteboard Paint has garnered numerous awards for its commercial-grade quality and comes with a complete kit for DIYers.
2. Ease of Application
Many people are intimidated by just thinking of how to turn a wall into a whiteboard. However, you’ll be pleasantly surprised to discover if consider how to turn a wall into a whiteboard, that it’s a straightforward application process. Whether you’re a DIY enthusiast or professional installer, there’s a solution that matches your comfort level and skill set.
How do you make walls writable?
If you’re wondering how to apply dry erase paint on walls, it’s a straightforward process, especially with the step-by-step guides provided with our whiteboard paints and wallpapers. Matte Whiteboard Paint, for instance, can be applied like any standard paint and can be used within four days. Smart Whiteboard Paint’s all-inclusive kit ensures that even first-timers can transform a wall into a dry erase canvas. For larger projects, our Whiteboard Wallpaper is still very easy to apply.
3. No More Size Restrictions
Gone are the days when you had to curb your ideas to fit within the confines of a traditional whiteboard. Traditional whiteboards often come with a limiting factor their size. No matter how expansive your ideas or how large your team, you find yourself restricted by the physical dimensions of the board. With limited space, only one person can effectively write or draw at a given time, and larger brainstorming sessions become a jumbled, chaotic experience.
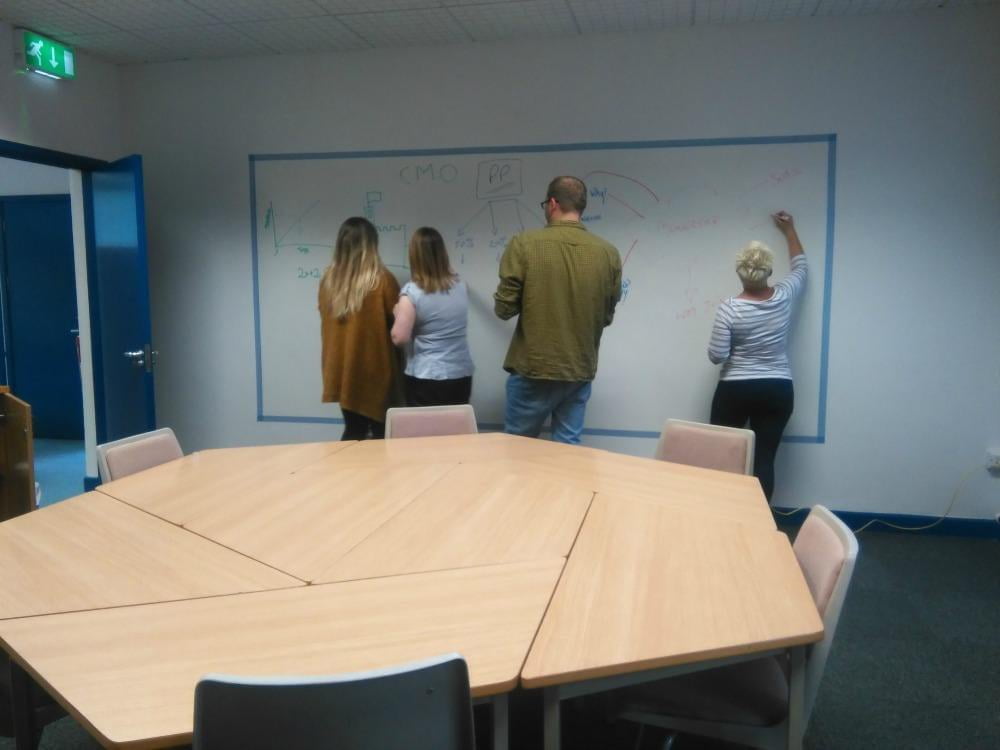
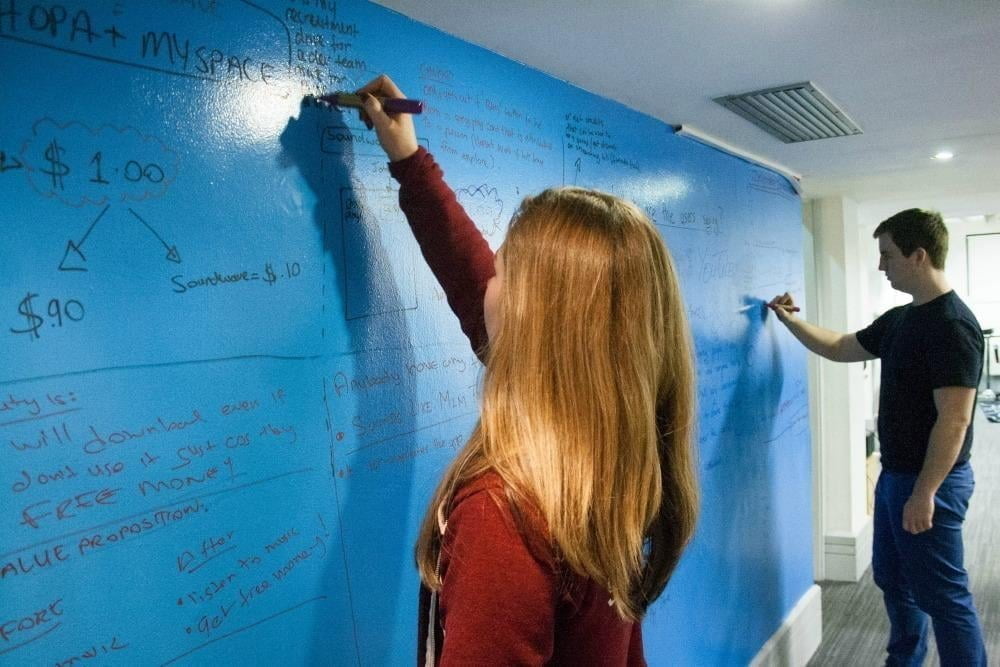
When you think about how to turn a wall into a whiteboard, size limitations are completely shattered. Imagine an entire wall in your office, conference room, or classroom transformed into a sprawling canvas for ideas. Here, multiple people can collaborate simultaneously, whether you’re conducting a SWOT analysis on one corner, sketching product designs in another, or setting quarterly goals and KPIs across the top. There is room for everything and everyone.

A wall-sized whiteboard opens the door for more dynamic and interactive presentations and lessons, offering a solution for those wondering how to turn a wall into a whiteboard. Educators can use the added real estate to display more information simultaneously, aiding in visual learning and allowing for a more holistic approach to teaching. Similarly, business presentations can benefit from a much larger ‘slide space,’ where multiple points or ideas can be displayed collectively, offering a clearer, more comprehensive view of strategies or data analyses.
By eliminating the need for everyone to huddle around a small board or constantly erase valuable information to make room for new ideas, a whiteboard wall allows for a more fluid, interactive, and ultimately productive experience.
4. Ghosting is a Thing of the Past
One of the most common and frustrating issues is “ghosting.” However, when you learn how to turn a wall into a whiteboard using high-quality products, ghosting becomes a thing of the past. Ghosting refers to the lingering marks or smudges that remain on the surface after erasing, giving the whiteboard a dirty and unprofessional appearance. This issue often makes you spend extra time and effort in cleaning, which can be quite annoying, especially in a fast-paced work or educational environment where time is of the essence.
However, when you turn your wall into a whiteboard using high-quality products like Smart Whiteboard Paint or Matte Whiteboard Paint, ghosting becomes a thing of the past. These products are designed with advanced technology that resists ghosting, offering you a crisp, clean surface every time you erase.
Does Dry Erase Come Off Walls?
When you use high-quality whiteboard paints like Smart Whiteboard Paint or Matte Whiteboard Paint, erasing is a breeze. No ghosting, no smudging; your wall remains as pristine as ever.
5. Limitless Color Choices
Traditional whiteboards are, as the name suggests, predominantly white. This limitation doesn’t give room for aesthetic creativity or integration with room themes and decors. However, if you are think about how to turn a wall into a whiteboard there are many of color possibilities, allowing you to truly customize your space according to your personal or corporate brand, rather than just a white whiteboard.
Transparent whiteboard paint is a ground breaking product that lets you have the best of both worlds. With transparent paint, your chosen wall color shows through, allowing you to maintain the wall’s original look while adding the functionality of a dry erase surface. This is an excellent option for those who have textured or patterned walls that they don’t want to cover entirely.
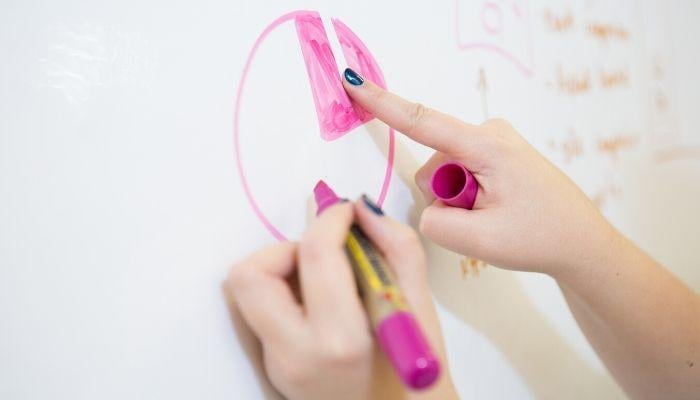
How to Turn a Wall into a Whiteboard: Choosing Between Whiteboard Paint and Whiteboard Wallpaper
When planning on how to turn a wall into a whiteboard, one of the first decisions to make is whether to go with whiteboard paint or whiteboard wallpaper. Each has its unique set of advantages and drawbacks, so it’s crucial to make an informed choice.

Whiteboard Paint
Pros:
- Seamless Integration: One of the most significant benefits of using whiteboard paint is that it blends perfectly with your existing wall, offering a seamless writing surface.
- Color Options: With transparent whiteboard paint, you can maintain your wall’s original color or even try a new hue before applying the dry-erase layer.
Cons:
- Drying Time: Whiteboard paint needs to cure for four days, which means you’ll have to wait a bit before you can start using your new writing surface.

Whiteboard Wallpaper
Pros:
- Quick Installation: Whiteboard wallpapers like Smart Whiteboard Wallpaper are usually ready to use 24 hours after application.
- Finish Options: Wallpapers come in various finishes like low sheen or matte, offering you more aesthetic choices and projectability too.
Cons:
- Professional Installation: Installing wallpaper might require professional help, particularly if you’re covering a large area.
How To Turn A Wall Into A Whiteboard with Whiteboard Paint: Step-By-Step Guide
Before turning your wall into a whiteboard, you’ll need to pick up some Matte Whiteboard Paint, Smart Whiteboard Paint, or Clear Whiteboard Paint. Then follow the How To Turn A Wall Into A Whiteboard Guide below.
Step 1: Choose Your Surface and Measure the Area
Firstly, decide which wall or portion of a wall you’d like to transform. Measure the area to determine how much whiteboard paint or wallpaper you’ll need.
Step 2: Prepare the Wall and Area
Preparation is key. Ensure the wall is clean and smooth. Patch any holes and sand the surface if needed. Cover any surfaces not being painted.
Step 3: Mask the Wall
Using masking tape, mask the area you want to paint.
Step 4: Apply Primer
Most high-quality whiteboard paints require a primer to give you that smooth finish, like our Smart White Primer. Apply this as you would standard paint and let it dry before applying the whiteboard paint.
Step 5: Apply Whiteboard Paint or Wallpaper
Once the primer is dry, it’s time to transform your wall into a whiteboard. Follow the specific instructions for your chosen product.
Step 6: Dry and Test
Allow the surface to dry for the recommended time before you start writing or drawing on it.
How To Turn A Wall Into A Whiteboard with Whiteboard Wallpaper: Step by Step Guide
When looking at how to turn a wall into a whiteboard with wallpaper you will want to choose one of the wall coverings from our functional wallpaper range.
Step 1: Preparing the Wall
- Lay down protective plastic on the floor.
- Fill any holes or cracks in the wall.
- Remove old wallpapers and sand down uneven surfaces.
- Apply a primer like Smart White Primer to prep the wall.
Step 2: Measuring and Marking
- Plan for horizontal application.
- Draw a level line 1.22m off the floor as a guide.
Step 3: Cutting the Wallpaper
- Roll out wallpaper on the protected floor.
- Cut it to the desired length.
Step 4: Applying Adhesive
- If needed, dilute the ready-mixed heavy-duty adhesive with 10% water.
- Apply two coats to the wall using a roller.
Step 5: Installing the Wallpaper
- Roll up the cut section, paper side out.
- Align the bottom edge with the 1.22m guide line and roll out horizontally.
- Use a wallpaper spatula to smooth out bubbles and excess adhesive.
Step 6: Butt Jointing for Next Lengths
- Align the next section just beneath or above the first.
- Work the joints together using a wallpaper spatula.
- Add extra adhesive if necessary.
Step 7: Overlap and Double Cut Method
- Overlap the new section by 2-3 cm.
- Cut along the middle of the overlap.
- Remove excess material and smooth with a spatula.
Step 8: Final Touches
- Wipe off excess adhesive with a damp cloth.
- Wait for 24 hours before using the wallpaper.
Step 9: Inspection
- Inspect for bubbles after 30 minutes.
- Use a spatula to smooth out any imperfections.
Maintenance Tips for Your Whiteboard Wall
Once you’ve successfully followed the steps in our How to Turn a Wall into a Whiteboard guide, it’s essential to maintain it properly to ensure its longevity and usability. Here are some tips:
1. Use High-Quality Markers
Always use markers specifically designed for dry erase boards. Low-quality markers can leave permanent stains and compromise the surface.
2. Regular Cleaning
Perform routine cleaning using specialized whiteboard cleaners to remove any residual ink or dust.
3. Avoid Abrasives
Never use abrasive cleaners or scouring pads, as they can scratch and damage the surface.
4. Replace Markers Regularly
Old or dried-up markers can be harder to erase, leading to ghosting over time. Make sure to replace your markers regularly.
Practical Applications of a Whiteboard Wall in Different Sectors
Educational Institutions
If you’ve followed our guide on how to turn a wall into a whiteboard, you can leverage whiteboard walls to create dynamic learning environments. For example, a teacher can use the expansive surface for collaborative projects, fostering collaboration and creativity among students.
Business Settings
From startup brainstorming sessions to corporate strategy meetings, a whiteboard wall can be a game-changer. It provides ample space for laying out complex plans or models, enabling a more interactive and productive discussion.
Creative Studios
Whether you’re an artist, designer, or architect, having an entire wall to doodle, sketch, or plan can significantly benefit your creative process. All you have to do is follow our steps on how to turn a wall into a whiteboard first.
Home Use
If you’re a family considering how to turn a wall into a whiteboard, it can serve multiple purposes—from a space for kids to unleash their creativity to a family planning board.
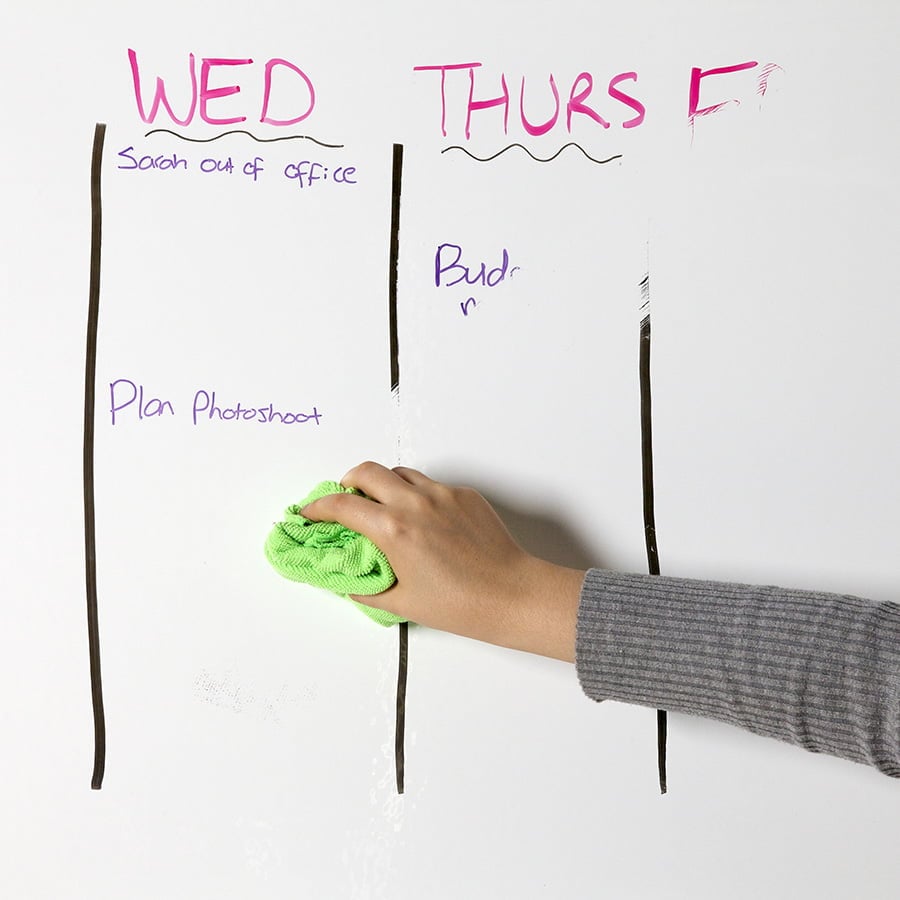
Unlock the Power of Creativity
Turning a wall into a whiteboard is not just a trendy fad but a functional, practical, and innovative solution to many limitations presented by traditional boards. With various products to choose from and an array of applications across different sectors, there has never been a better time to embrace this transformation. So if you’ve been contemplating how to turn a wall into a whiteboard, there has never been a better time to embrace this transformation.

by sefali | Oct 19, 2020 | Blog
When you’ve decided to bring the cinematic experience into your home or office, many elements come into play. From the type of projector to the projector screen, every component matters. One aspect that often gets overlooked is the projector screen border. But why is it so crucial, and how can it enhance your viewing experience?

Whether you’re setting up a home theater or enhancing your meeting room, a projector screen border can make a big difference. In this comprehensive guide, we’ll delve into everything you need to know about a projector screen border, including its purpose, types, and ideas for making it visually appealing. We will also touch upon a trendy alternative for projector screens—projector paint—and how you can create a border around it.
Does a Projector Screen Need a Border?
The short answer is no, you don’t absolutely need a projector screen border. In our office, one entire wall serves as a projector wall without any border thanks to our projection wallpaper. That said, a projector screen border offers significant benefits that enhance your viewing experience. It absorbs any light that spills outside of the screen area, helping you in situations where you can’t perfectly align the projected image. Another benefit is the visual enhancement; the contrast between a white screen and a darker border can make images stand out more clearly. This leads us to the question…
Why Do Projector Screens Have a Black Border?
Technically, projector screen borders can be of any color, but black is often preferred due to the Bartleson-Breneman Effect. This phenomenon affects the perceived contrast among areas of different value within an image when the image is viewed against a light or dark background. Simply put, a black projector screen border improves your eye’s ability to process the image by providing a reference point. This, in turn, enhances the image’s contrast, making it appear brighter and more colorful.
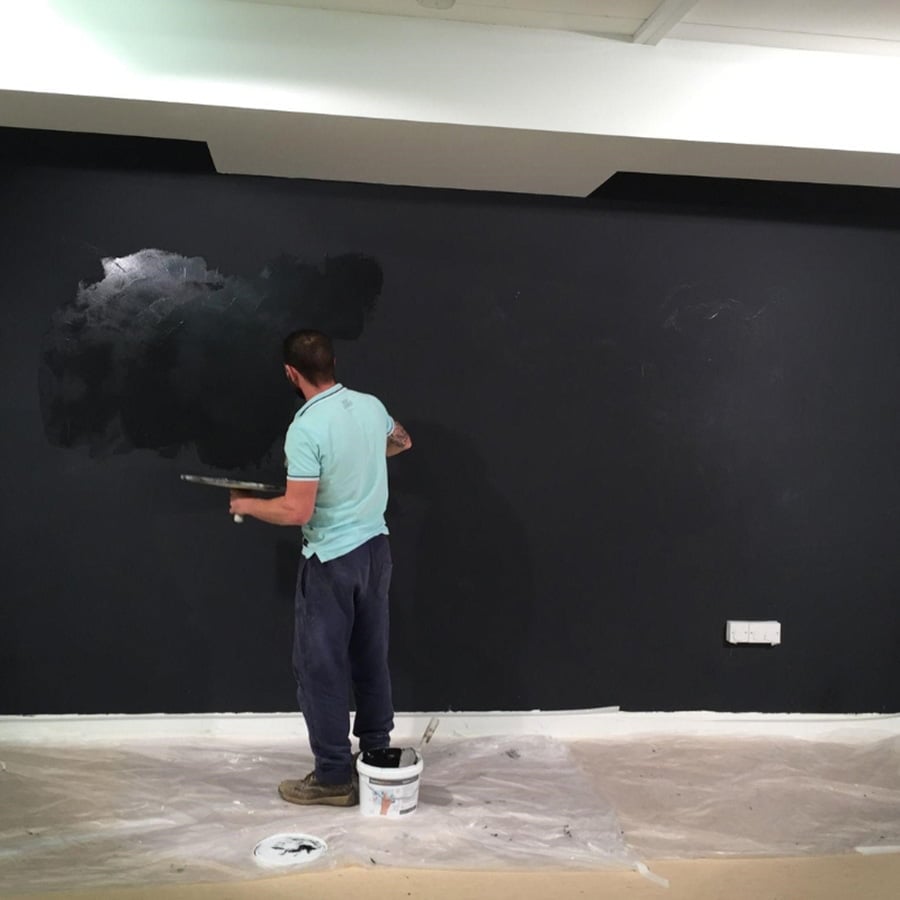
If you’re using a specialized paint like Black Projector Screen Paint, your projector screen border can work in conjunction with the enhanced image contrast feature of this paint. The Black Projector Screen Paint absorbs ambient light, thus improving image contrast even further.
The Aesthetics: More Than Just a Frame
At first glance, a projector screen border may seem purely cosmetic, but it serves a higher purpose. It acts as a frame that accentuates the projected image, focusing your attention where it should be: on the screen. Think of it as the frame around a painting; it brings the entire picture into perspective.
Can You Frame a Projector Screen?
Absolutely, framing a projector screen is not only possible but also a popular choice among home theater enthusiasts. A frame around your projector screen border gives it a finished, professional look, almost like a giant cinematic canvas hanging on your wall.
You can choose from a variety of materials like wood or metals for your frame, depending on the aesthetics of the room. The type of border—be it velvet or plastic—also impacts your decision. Velvet surfaces have near-zero reflectivity, while well-made plastic frames minimize reflection.
How to Make Your Projector Screen Look Good: Projector Screen Border Ideas
When it comes to projector screen border ideas, you’re only limited by your creativity. Projector paint is a fantastic alternative to traditional projector screens. It’s a clean, hole-free solution to create a functional wall. To make your projector wall pop, consider using one of the projector paints in our range, and painting a boarder. If you have a high lumen projector you can apply High Contrast Projector Screen Paint or Black Projector Screen Paint and the boarder will be ready to use with the projector screen.
How to Create a Projector Screen Border
Creating your own projector screen can be a rewarding experience. Not only do you get the exact size and finish you desire, but you also have the option to add a customized projector screen border. Below is a step-by-step guide to help you create a projector screen and a black border, enhancing both the aesthetic appeal and the functionality of your DIY screen.
Step 1: Cleaning
All surfaces to be painted should be clean, dry, and free from loose materials.
Step 2: Mark the Dimensions
Measure the area you wish to paint and mark it using masking tape. The maximum dimensions our projector paints will cover is 109.8” x 61.8”. Want a bigger screen? Just add another tin.
Step 3: Priming
Apply two coats of Smart White Primer
Step 4: Sanding
Lightly sand the surface before each coat of primer to ensure a smooth finish.
Step 5: Drying Time
Allow the primer to fully dry (approx. 2-4 hours at 20°) and ensure the surface is smooth.
Step 6: Stir the Projector Paint
Stir the projector paint thoroughly before use.
Step 7: Application
For best results, apply the paint using a mohair or lint-free short pile roller sleeve.
Step 8: Coating
Apply the number of coats depending on the projector paint you’ve purchased, allowing the previous coat to dry before applying the next coat (approx. 2-4 hours at 20°).
Step 9: Mark the Lines for the Border
Once the projector paint is dry, outline your projector screen border with a pencil. Use tape to mark the area. This will define the size and shape of your projector screen border. If you’ve applied High Contrast Projector Screen Paint or Black Projector Screen Paint, your projector screen border is already painted, just reduce the projection size slightly and it will be framed.
Step 10: Choose Your Shape and Color
While a traditional rectangular projector screen border is the go-to option for most, feel free to get creative. You can opt for unique shapes or even incorporate a color that complements your room décor or brand logo. Opt for a black paint that complements your projector screen. A black projector screen border enhances the Bartleson-Breneman Effect, improving your viewing experience.
Step 11: Mask the Border
Tape off the area for the boarder. You will want it to be at least 2 inches to frame it nicely. More on this below.
Step 12: Paint the Border
Use a small roller or brush to carefully paint within the taped-off area. Make sure to apply the paint evenly. Remove the tape while the paint is still wet to avoid peeling off the dried paint.
Step 13: Final Touches
Once the projector screen border is dry, it’s time to test out your new screen. Turn on your projector, align it properly, and enjoy your newly enhanced viewing experience.
The Bartleson-Breneman Effect Explained
The Bartleson-Breneman Effect describes how our eyes perceive contrast in different lighting conditions. Essentially, a black projector screen border creates a “frame of reference,” enhancing your eye’s ability to process the image. This makes the colors appear more vibrant, the blacks deeper, and the whites brighter. If you’re considering installing a projector screen border, understanding this effect can guide your choice of color and material.
Do You Need a Border?
You don’t necessarily need a border for your projector screen or painted wall. However, a border aids in quickly identifying the projection area and can improve the overall visual quality.
Projector Paint vs. Projector Wallcovering
If you’ve opted for a projector wall rather than a traditional projector screen, you might be wondering what to use: projector paint or projector wallcovering. Each has its merits.
Our Projector Wallcoverings, for instance, offer dual and triple functionality: dry-erase and magnetic as well as a projector screen. Our Projector Paints, on the other hand, are a more specialist option, depending on your requirements.
Factors to Consider When Choosing a Projector Screen Border
Now that you understand the importance and benefits of a projector screen border, what should you look for when choosing one? Here are some factors to consider:
Projector Screen Border: Surface Material
When it comes to choosing a material for your projector screen border, you have two prime options: velvet and black projector paint. Velvet border felt is often hailed as the gold standard for its near-zero reflectivity, adding a touch of elegance while effectively absorbing stray light for an immersive viewing experience, but much harder to install.

On the other hand, Black Projector Screen Paint is a cost-effective and flexible alternative that also excels in absorbing ambient light, enhancing image contrast and offering the freedom to create custom border shapes. Both materials have their merits, and the best choice depends on your specific needs, aesthetic preferences, and the projector setup you have in mind.
Projector Screen Border: Width and Depth
The width of the projector screen border typically ranges from 0.5 inches to 3.5 inches. A wider border can make your screen pop and provides a safety net for projector alignment. Depth refers to how far the edge juts out from the screen surface. Deeper borders are aesthetically pleasing and increases the effectiveness of the Bartleson-Breneman Effect.
Projector Screen Border: Shape and Style
Whether you go for a squared or beveled edge, your choice will affect not just the aesthetics but also the maintenance of your projector screen border, as beveled edges collect less dust.
Projector Screen Border: Borderless Screens
While aesthetically appealing, borderless projector screens make perfect alignment almost impossible, leading to light bleed around the edges.
Projector Screen Border: Account for Size
Remember, the size of the projector screen border will add to the overall dimensions of the screen. Make sure to account for this extra size when measuring your available wall space.
What Will Your Choice Be?
A projector screen border serves as more than just a frame for your images; it enhances your viewing experience in numerous ways. Whether you opt for a traditional projector screen or explore projector screen border ideas for a wall painted with projector paint, the options are endless.

So, what will your choice be? A black velvet border to leverage the Bartleson-Breneman Effect, or a black paint. Either way, a well-chosen projector screen border can make all the difference in how you experience your movies, presentations, or video games. We hope this comprehensive guide has given you the insights you need to make an informed decision about your projector screen border. Happy viewing.
by sefali | Oct 19, 2020 | Blog
Have you always wanted to bring interactivity into your office or classroom setting but shuddered at the price tag of high-end interactive whiteboards? If so, you’ve come to the right place. Not only can you make a whiteboard interactive, but you can also do it on a reasonable budget. We’ll explore this and more, answering your pressing questions about how to make a whiteboard interactive.
What is an Interactive Whiteboard?
An interactive whiteboard is a dynamic tool that displays computer images via a digital projector. These images can then be manipulated by the presenter using their finger or a stylus as a mouse, directly on the surface. If you’re wondering how to make a whiteboard interactive without spending a fortune, keep reading.
How to Make a Whiteboard Interactive on a Budget
Fortunately, there’s a high-quality alternative that doesn’t break the bank. Use a high-quality interactive projector paired with specialized projectable whiteboard wall solution like Projector Whiteboard Wallpaper. This innovative surface allows you to write and project images, making your wall a multi-purpose interactive space.
What Do You Need for an Interactive Whiteboard?
Before looking at how to make a whiteboard interactive, you’ll need:
- Whiteboard Surface: Use Projector Whiteboard Wallpaper to create a writeable wall that you can project on to with low glare.
- High-Quality Projector: The right projector is essential. Look for one that’s easy to connect to your computer and provides clear, bright images. Checkout the BenQ MX825STH Projector if you’re looking for a top quality, but good value interactive projector
- Computer: Any laptop or desktop with projection capabilities will work.
Interactive Software: Depending on your needs, you may want software that allows for real-time editing and collaboration. - Connectivity Cables: HDMI or VGA cables to connect the computer to the projector
- Stylus or Interactive Pens: For added functionality, some people choose to use interactive pens that can work as a mouse when you touch them to the whiteboard surface.
- Whiteboard Markers: Not just any markers will do when you’re learning how to make a whiteboard interactive. Choose high-quality dry-erase markers for clear, vibrant writing that’s easily visible from a distance. Opt for markers that are easily erasable to maintain the quality of your interactive whiteboard.
- Cleaning Supplies: Microfiber cloths, erasers, and whiteboard cleaners are essential for maintaining a clean writing surface.
How to Make a Whiteboard Interactive – Step-By-Step Guide
Turning a whiteboard into a smart board involves more than just technology; the right surface is also crucial. Here’s how to make a whiteboard interactive using Smart Whiteboard Wallpaper. Follow this step-by-step guide for seamless application and optimal results.
Step 1: Preparing the Walls for Wallpaper Application
Before diving into how to make a whiteboard interactive, you must prepare the surface:
- Protect the Floor: Cover the floor with plastic or another suitable protective material.
- Wall Inspection: Fill any holes or cracks with a decorator’s filler.
- Clean the Wall: Remove old wallpapers and ensure the wall is clean and dry. Sand out any rough surfaces and apply a primer like Smart White Primer.
Step 2: Measure & Mark
Here’s the next step in how to make a whiteboard interactive:
- Horizontal Application: Mark a straight, level, horizontal line 1.22m above the floor across the wall. This will guide the bottom edge of the first wallpaper section.
Step 3: Preparing the Wallpaper
- Cutting: Roll the wallpaper out on the protected floor, backing facing up, measure, and cut with sharp scissors.
Step 4: Apply Adhesive
- Preparation: Dilute the heavy-duty adhesive with 10% water, if required, and stir for a smooth consistency.
- Application: Apply two coats of adhesive to the wall using a roller.
Step 5: Applying the Smart Whiteboard Wallpaper
- First Length: Roll the cut wallpaper section back up, ensuring it doesn’t crease, and align it with the pencil mark at 1.22m. Unroll it while pushing out any air bubbles.
- Next Lengths: Use butt jointing to attach additional sections. Apply extra adhesive where necessary and use a spatula to eliminate air bubbles.
Step 6: Post-Application
- Allow to Dry: Wait 24 hours for the adhesive to dry before using the surface.
- Inspect the Surface: After 30 minutes, check for bubbles and press them out with a spatula.
Step 7: Maintaining Your Smart Surface
Now that we’ve covered how to make a whiteboard interactive, maintaining your new smart surface is the final step:
- For optimal results, use high-quality accessories like those available from Smarter Surfaces or a reputable local partner.
- Clean the surface regularly with a Smart Micro-Fibre Eraser Cloth and specific cleaning fluids.
Turning your whiteboard into a smart board is simpler than it seems. After applying Projector Whiteboard Wallpaper and securing your projector, connect it to your computer. Use interactive software to enable touch capabilities, and that’s it. You’ve turned your whiteboard into a smart board.
Why is My Interactive Whiteboard Not Interactive?
If you’ve followed the above steps for how to make a whiteboard interactive but are still having issues with interactivity, here are some common problems to check:
- Connectivity Issues: Ensure all cables between the computer and projector are securely connected.
- Calibration: Some systems require periodic calibration to maintain touch accuracy.
- Software Glitches: Make sure your interactive software is updated and compatible with your hardware.
- Projector Problems: Ensure the projector is correctly focused and aligned with the whiteboard.
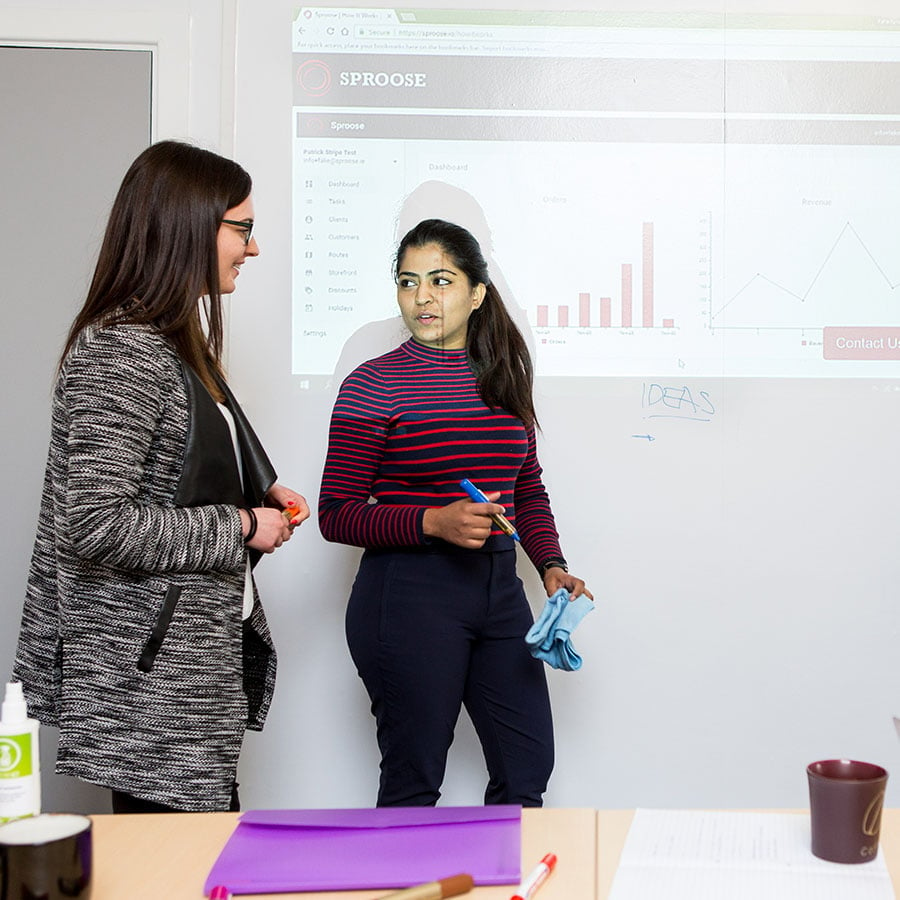
Ways to Maximize Your Interactive Whiteboard Usage
- Collaborative Web Design: Forget huddling around a tiny computer screen. Project your website onto the interactive wall and show your team exactly what changes are needed.
- Real-Time Brochure Updates: Similarly, project your brochures to get immediate feedback. Make real-time edits for everyone to see, thereby boosting teamwork and communication.
- Efficient Meetings: Project your meeting agenda, and have team members write their names next to tasks they’re responsible for. A quick photograph later, and you’ve got a digital record.
- Engaging Presentations: Use the interactive whiteboard to make your presentations more engaging. Audience members can interact directly with the projected content, making meetings and lessons more dynamic.
Now that you know how to make a whiteboard interactive, there’s nothing holding you back. Upgrade your space today with Projector Whiteboard Wallpaper and experience the future of interactive presentations and collaborations.
