by sefali | Oct 19, 2020 | Blog
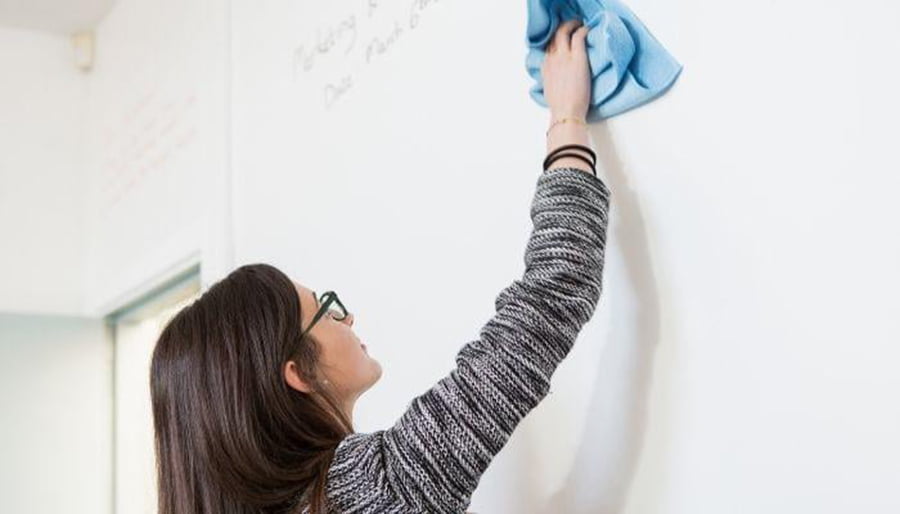
We’ve all been there—standing in front of a whiteboard cluttered with last week’s brainstorming session or yesterday’s to-do list. The moment you reach for that cloth or tissue paper, you realize you’re not quite sure how to clean whiteboards effectively to get rid of those nasty stains. It’s frustrating to deal with dirty whiteboards that display ghosting, permanent marker stains, or yellowing. But worry no more. This comprehensive guide will answer all your questions, from the basics of how to clean a whiteboard to maintenance tips and product recommendations.
Why is Proper Whiteboard Maintenance Important?
Much like any working surface, whiteboards need regular care. Proper maintenance will not only keep your whiteboard white but will also enhance its longevity. This article will dive into various methods and products that can be used, including Smart Whiteboard Paint and Whiteboard Wallpaper, both award-winning solutions from Smarter Surfaces. So, read on to understand how to clean whiteboards like a pro.
What You Need to Know About Whiteboard Markers
Quality Matters
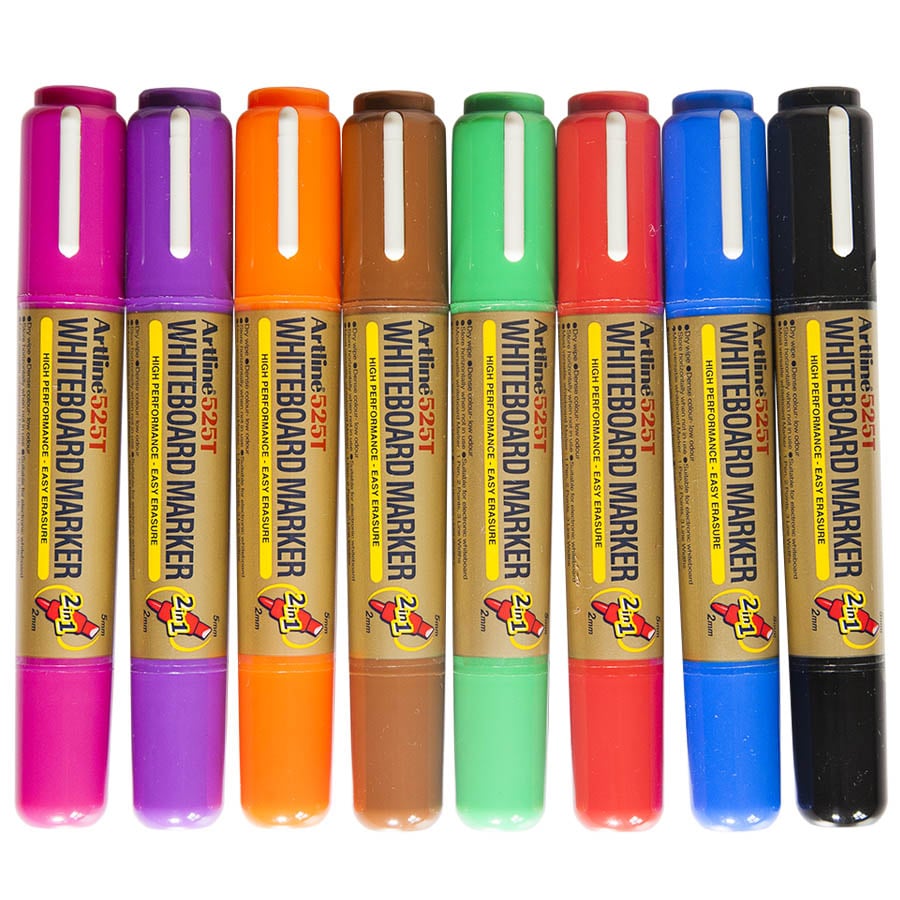
When thinking about how to clean whiteboards, it’s crucial to consider the markers you’re using. The quality of your dry erase markers can significantly affect the ease with which your whiteboard can be cleaned. Not all inks are created equal; different brands use different quality ink. Although you don’t have to buy the most expensive markers, opting for premium whiteboard markers can make a difference in the long term.
Ink Behavior
Furthermore, the pigments used across different colors behave differently, affecting how to clean a white board. For example, black ink may rub off easily, while red ink may be a bit more stubborn. So, the next time you wonder why some colors are harder to clean off, consider the ink quality and pigments used.
Tools for Cleaning Whiteboards
Specially Designed Cloths
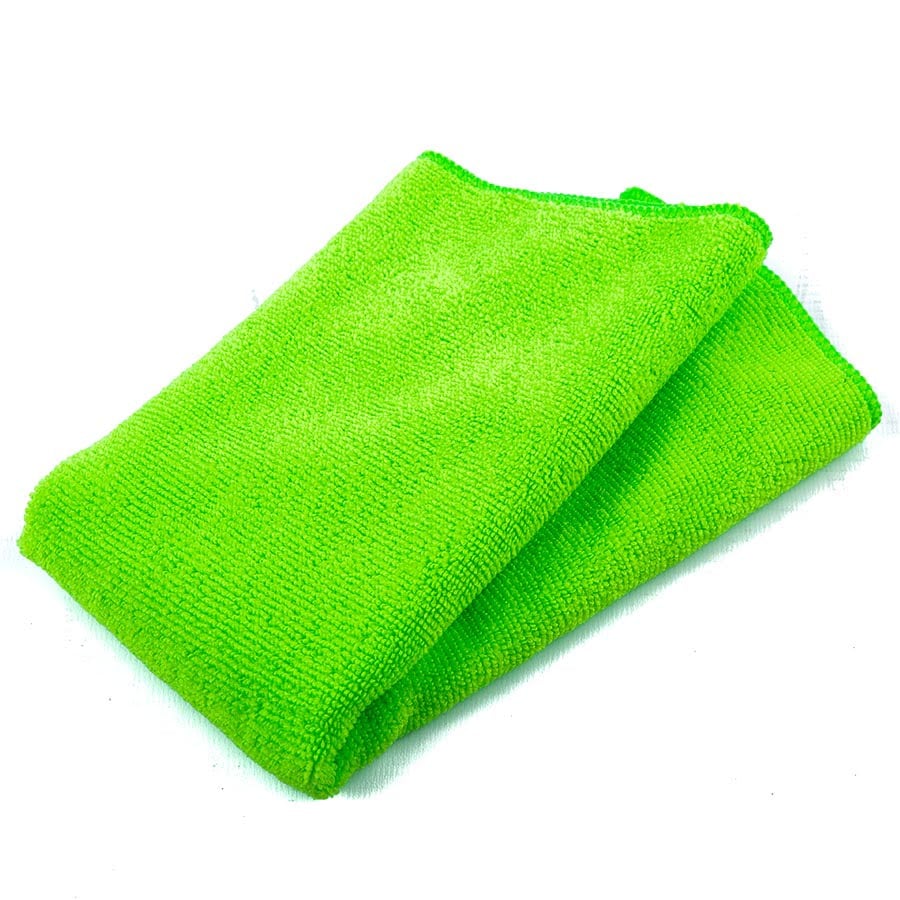
A key part of understanding how to clean whiteboards lies in the type of cloth you use. Some materials merely push the ink around, making the surface look even worse. The right cleaning cloth will absorb the ink, making it much easier to clean. One recommendation for this is to use a micro fibre eraser cloth, which effectively removes markers without requiring a daily cleaning spray.
Whiteboard Cleaning Sprays
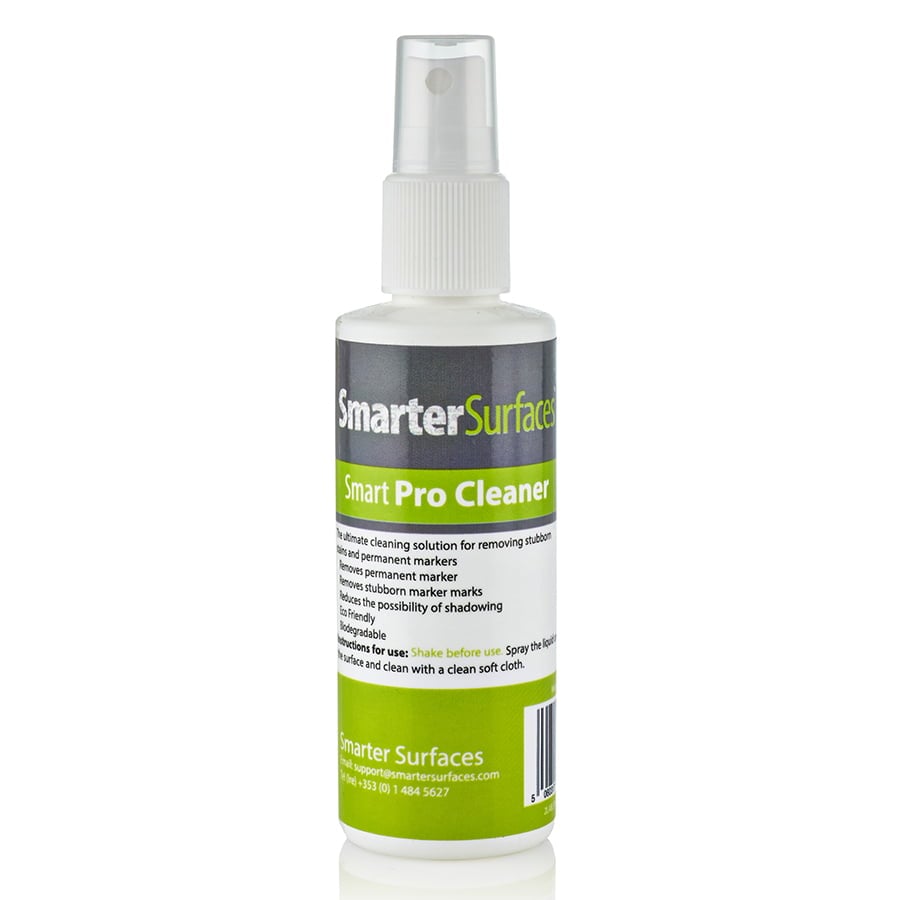
Another factor that plays into how to clean dry erase boards is the choice of cleaning spray. Avoid using regular household or office cleaning products as they can damage the whiteboard surface over time, contributing to yellowing and weakening its write-on, wipe-off functionality. Smarter Surfaces offers a specially designed whiteboard cleaning fluid that won’t damage your board. Our Permanent Marker Remover is designed to remove stubborn stains and permanent marker from Smarter Surfaces dry erase products such as Smart Whiteboard Paint.
How to Clean a Whiteboard for Daily Maintenance
For those who wonder how to clean whiteboards daily without causing surface damage, the process is simple. Wipe your board with a soft, lint-free cloth or micro fibre eraser cloth. If the surface sees heavy use, consider a mild whiteboard cleaning spray.
Step-By-Step Guide: How to Clean Whiteboards Effectively
Understanding how to clean a white board isn’t just a one-time task; it’s an ongoing responsibility. Here’s a step-by-step guide that you can follow for optimal results.
Step 1: Evaluate the Whiteboard
Before you decide how to clean your whiteboard, take a moment to assess its condition. Is it just a little dirty from daily use, or are there stubborn stains that require special attention?
Step 2: Gather Your Supplies
For a basic clean, all you’ll need is a soft, micro fibre eraser cloth. If your board has stubborn stains or heavy residue, you will need a specialized whiteboard cleaning spray. For stubborn or permanent marker stains make sure you have Permanent Marker Remover to hand.
Step 3: Start with a Dry Wipe
The first step in the process of how to clean dry erase boards is often a simple dry wipe. Use your cloth to erase as much as you can.
Step 4: Use a Cleaning Spray
If a dry wipe isn’t enough, use our whiteboard-safe cleaning spray. Apply a small amount to the board and gently wipe the surface. Always opt for a specialized whiteboard cleaner, like Smarter Surfaces’ whiteboard cleaning fluid, to prevent surface damage.
Step 5: Handle Stubborn Stains
For those really persistent marks that defy standard methods of how to clean whiteboards, consider using a stubborn stain remover spray on an ad-hoc basis. We developed Permanent Ink Remover for these situations.
Step 6: Rinse and Repeat
If your whiteboard still isn’t clean, repeat steps 4 and 5 as necessary. Always remember to avoid abrasive cleaners and sponges that can scratch and ruin the surface.
Step 7: Regular Maintenance
Consistent cleaning prevents ghosting and staining. Even if the board doesn’t look dirty, a monthly deep clean is a good practice.
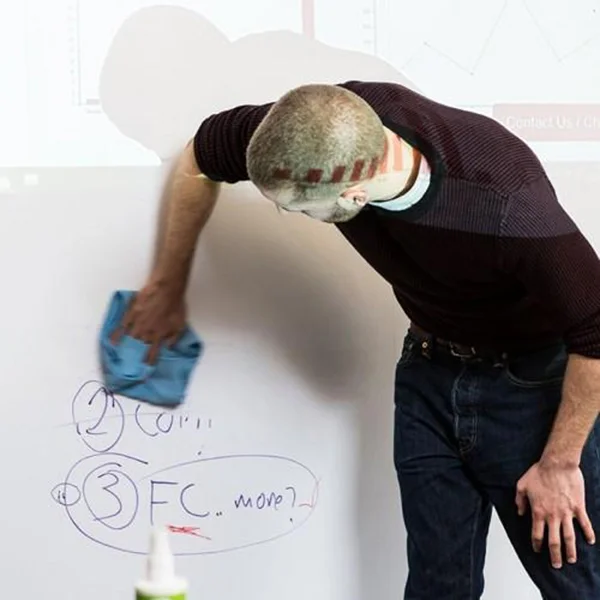
How to Clean Whiteboards & Keep Them White All the Time?
How to Maintain a Whiteboard?
Understanding how to clean whiteboards is important, but regular maintenance will ensure your board lasts longer and stays cleaner. Once a month, consider using a a regular whiteboard cleaner even if there are no visible marks. It will refresh the surface and improve its write-on, wipe-off functionality of your Smarter Surfaces’ Smart Dry Erase Wallcovering or Whiteboard Paint.
How to Make Your Whiteboard Erase Better?
If you’re asking how to clean a white board to improve erasability, using a specialized cleaning fluid like Smarter Surfaces’ whiteboard cleaning fluid can make a huge difference. It’s formulated to enhance the erasability of your board, making it easier to wipe off marks.
How to Make Your Whiteboard Look Like New?
Is your whiteboard looking a little tired? You may wonder how to clean a faded whiteboard. If you have an old whiteboard that you are looking to revamp, Smarter Surfaces’ Permanent Marker Remover is the perfect solution to restore it to a like new condition. Simply spray directly onto the desired area of the whiteboard and wipe clean.
Why Does My Whiteboard Keep Staining?
If your whiteboard is staining, you may not be following the right procedures on how to clean dry erase boards. Using inappropriate cleaning agents like household cleaners can lead to surface damage and staining. Always opt for specialized whiteboard cleaners to prevent this.
Can You Repaint a Whiteboard?
If you’re dealing with a severely damaged or faded board, you may wonder, “Can whiteboard be painted over?” The answer is yes, with Smart Whiteboard Paint. This commercial-grade paint can transform any smooth surface into an interactive dry erase area. It offers a seamless, joint-free, and clean surface that integrates effortlessly into any workspace.
How Long Does Whiteboard Paint Last?
When it comes to longevity, Smart Whiteboard Paint, for instance, offers a durable and long-lasting surface. With proper care and maintenance, you can expect your painted whiteboard to remain functional for years to come. It’s a sustainable investment that withstands regular use without ghosting or staining.
Additional Tips: How to Remove Unwanted Marks
How to Get Permanent Marker Off Whiteboard?
In case you or someone else accidentally uses permanent marker on the board, don’t panic. You can easily remove it using a stubborn stain remover spray like Permanent Ink Remover from Smarter Surfaces. It’s a powerful solution that can effectively remove even the most stubborn marks.
How to Get Dry Erase Marker Off Wall?
If dry erase marker ends up on a wall, use a mild cleaning agent or whiteboard cleaner to remove it. Test a small area first to ensure it won’t damage the paint.
How to Remove Dry Erase Marker From Clothes?
Accidentally marked your clothes? Apply a small amount of isopropyl alcohol to a cloth and gently dab the stain. Wash the garment as you normally would.
Learning how to clean whiteboards isn’t just about removing marks. It’s about understanding how to maintain and enhance the longevity of your board. Whether it’s using quality markers, specialized cleaning fluids, or even considering alternative solutions like Smart Whiteboard Paint, the key to a well-maintained whiteboard lies in informed choices.
From keeping it clean to revitalizing an old board, your whiteboard can be an endless source of creativity and productivity when cared for properly. Whether you’re a professional, a student, or someone who enjoys jotting down ideas, knowing how to clean whiteboards effectively is essential for maintaining a functional and aesthetically pleasing workspace. Now that you know how to clean whiteboards, you have no more excuses for putting up with dirty, stained, or ghosted surfaces.
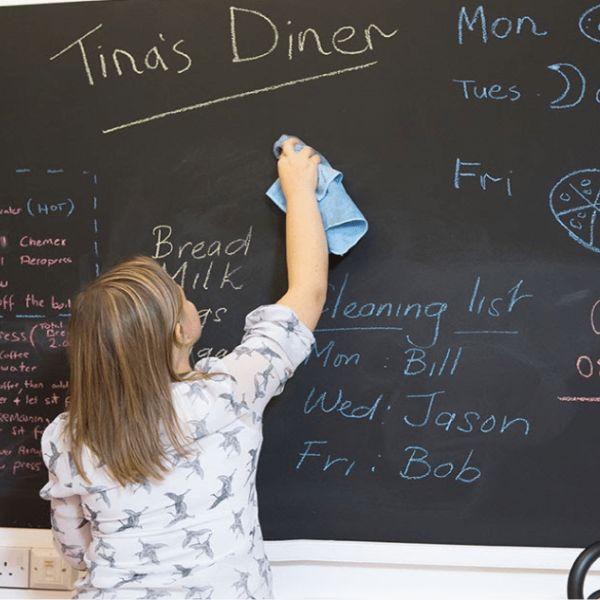
by sefali | Oct 19, 2020 | Blog
So you love your chalkboard, right? Its sleek, black finish makes for the perfect canvas for doodles, reminders, and even educational lessons. But what about the pesky chalkboard dust and occasional smears from chalk markers or crayons? Don’t worry, this comprehensive guide will answer all your questions on how to clean a chalkboard, how to get chalk marker off, and much more.
What You’ll Learn:
Are you fed up with chalk dust but love the classic black finish of your chalkboard? Whether you’re an educator with a classroom full of chalkboards, a business owner displaying daily specials, or a parent with a chalkboard wall at home, knowing how to clean a chalkboard is essential for a smooth, clean surface. In this comprehensive guide, we’ll explore various methods, tips, and best practices to keep your chalkboard clean and dust-free.
A Quick Step-by-Step Guide on How to Clean a Chalkboard
For those who want a quick, efficient way to clean their chalkboard, here’s a step-by-step guide on how to clean a chalkboard using the most common method:
Supplies
- Clean chalkboard eraser
- Microfiber cloth
- Dish soap (optional)
- Warm water
- Bucket
Step 1: Initial Erasing
Begin with a clean eraser. Starting in the upper left-hand corner, wipe the board up and down, moving across the board until you reach the upper right corner. This method ensures chalk dust doesn’t stick to the surface in irregular patterns.
Step 2: Wipe with Microfiber Cloth
Take a clean microfiber cloth and give the board another wipe down, following the same motion as with the eraser. This additional pass helps remove any leftover chalk residue.
Step 3: Prepare a Cleaning Solution (Optional)
Next, prepare a cleaning solution. Mix a few drops of dish soap with warm water in a bucket. If you don’t have any, just some water will do.
Step 4: Wipe with Damp Cloth
Dip a clean microfiber cloth into the solution and wring it out well. Wipe down the chalkboard surface, applying extra pressure on stubborn areas. If you didn’t use a cleaning solution, just a damp cloth will do.
Step 5: Rinse
Rinse the cloth with clean water and wipe the chalkboard to remove any soap residue.
Step 6: Dry
Finally, wait for the board to air-dry completely before using it again. It’s vital that you don’t write on even a damp board.
How to Clean a Chalkboard: Alternative Methods & Hacks
Understanding how to clean a chalkboard also means knowing various methods you can employ. While the traditional erasing technique is timeless, sometimes we need a bit more firepower to tackle stubborn chalk stains or build-up.
Cleaning Blackboards Made From Chalkboard Paint

If you have a blackboard made from chalkboard paint, you’re in luck. These surfaces are incredibly easy to maintain and integrate seamlessly into any space. All you need to do is follow the previous step-by-step guide on how to clean a chalkboard. The paint is not only durable but also an environmentally-friendly option with very low VOC levels. If the chalkboard starts to wear out after years of use, a new coat of chalkboard paint will easily restore it.
Cleaning with White Vinegar
White vinegar isn’t just for cooking; it’s a powerful cleaner. Here’s how to clean a chalkboard with vinegar:
- Preparation: Fill a bucket with 6 cups of warm water and add a cup of white vinegar. For extra cleaning power, you can also add a few drops of dish soap.
- Wipe: Dip a microfiber cloth into the solution, wring it out well, and then wipe down the board.
- Rinse and Dry: Use a damp cloth to rinse the board. Air-dry the board before using it again.
Lemon Oil Freshness
Need your chalkboard not only to look clean but also smell amazing? Then consider using lemon oil.
- Preparation: Add about 2 teaspoons of lemon oil to a cloth.
- Marinate: Fold the cloth into fourths and place it in a sandwich bag. Allow it to marinate overnight.
- Wipe: Use the cloth to wipe down a board that has been cleaned with an eraser.
Cleaning with Coca-Cola: A Surprising Solution
You might think it’s unconventional to clean a chalkboard with Coca-Cola, but this method can be surprisingly effective. Here’s how to clean a chalkboard using this popular beverage:
- Preparation: Grab a bottle of Coca-Cola and a microfiber cloth.
- Wet the Cloth: Dampen a cloth with water and wring it out well. Apply a bit of Coca-Cola to the cloth. Make sure it’s not dripping but just damp with the beverage.
- Wipe Down: Gently wipe down the chalkboard, paying special attention to areas with more stubborn chalk residue.
- Rinse and Dry: Use another damp cloth to rinse the board. This is important to ensure no stickiness is left behind. Allow the board to air-dry before using it again.
Note: If you’re concerned about the Coca-Cola leaving any stickiness or residue, you can do a final wipe-down with a cloth dampened in clean water.
How to Clean a Chalkboard: Removing Stubborn Marks from Your Chalkboard
How Do You Get Chalk Marker Off a Chalkboard?
If you’ve used chalk markers on your chalkboard and find them harder to remove than traditional chalk, don’t worry. Here’s how to clean a chalkboard marred by chalk markers.
Method One:
- Initial Cleaning: Start off by using a damp micro fibre cloth to remove as much of the chalk marker as you can.
- Vinegar Solution: If the micro fibre cloth doesn’t fully remove the marker, prepare a cleaning solution consisting of 70% water and 30% vinegar.
- Application: Spray or apply this mixture on the affected area, let it sit for a few minutes, and then wipe it off.
Method Two:
- Use Windex: Spray the area generously.
- Let it Sit: Allow the cleaner to sit for about 5 minutes.
- Wipe Away: Use a microfiber cloth to wipe away the marker. Repeat the process if necessary.
Always remember to test any cleaning agents on a small, hidden area of your chalkboard first to make sure they won’t cause any damage.
How Do You Get Permanent Marker Off a Chalkboard?
If someone has accidentally used a permanent marker on your chalkboard, here are the steps for removal:
- Rubbing Alcohol: Dampen a cloth with a bit of rubbing alcohol (isopropyl alcohol.)
- Gentle Wipes: Wipe the area with the marker gently.
- Rinse: Use another cloth dampened with water to rinse the area.
- Dry: Allow the chalkboard to air-dry.
How Do You Get Crayon Off a Chalkboard?
Children might get creative and use crayons on a chalkboard. Here’s how to clean it:
- Scrape Off: Gently scrape off as much crayon as you can using a plastic scraper.
- Dish Soap: Mix a few drops of dish soap with warm water.
- Wipe Down: Use a cloth dampened in this solution to wipe down the board.
- Rinse and Dry: Finally, rinse the area with a clean cloth and let it dry.
How Do You Get Sharpie Off a Chalkboard?
A Sharpie can be particularly stubborn, but it’s not impossible to remove:
- Acetone or Nail Polish Remover: Apply a small amount to a cloth.
- Rub: Rub the marked area gently. The Sharpie should start to lift.
- Water Rinse: Rinse with a cloth dampened in clean water.
- Dry: Let the board air-dry.
How to Avoid Chalk Dust
Chalk dust can be a nuisance, especially for people with allergies or asthma. Even if you follow every tip on how to clean a chalkboard effectively, you might still struggle with the inevitable dust that accompanies traditional chalk use. Here are some steps to minimize this problem:
Use Quality Erasers
Invest in an all-felt or microfiber eraser that captures chalk dust more effectively than cheaper versions. Shake out and clean the eraser regularly to ensure it works efficiently.
Regular Cleaning
Routine cleaning can help prevent the build-up of chalk dust on the board and the surrounding areas. If you find chalk dust hard to manage, Smart Chalkboard Paint is easy to maintain and wipe down, making your chalkboard surface as efficient as possible with minimal dust.
Opt for Dust-Free Chalk
Some brands offer “dust-free” or “low-dust” chalk that significantly reduces the amount of dust produced during writing. This is a convenient option for those who want to minimize cleaning.
Use a Chalk Holder
Chalk holders not only make it easier to write but also contain most of the dust that would otherwise fall.
Switch to Liquid Chalk or Chalk Markers
For a completely dust-free experience, consider switching to liquid chalk or chalk markers. These can be a bit harder to erase (you may need a damp cloth), but they eliminate the dust issue.
Write Gently
Applying too much pressure while writing can produce more chalk dust. Try to use a gentle grip and softer strokes to minimize this.
Install a Chalk Rail or Tray
If you don’t already have one, installing a chalk rail or tray can catch some of the falling chalk dust, making it easier to clean up later.
How to Clean a Chalkboard – Expert Tips for Maintaining a Clean Chalkboard
A clean, well-maintained chalkboard is not just a tool but a source of joy whether you’re a teacher, a parent, or anyone who enjoys the tactile experience of writing with chalk. By now, you’re familiar with various methods on how to clean a chalkboard, but let’s level up your chalkboard maintenance game with some expert tips.
Daily Maintenance Is Key
Regular cleaning is vital for extending the lifespan of your chalkboard. Make it a habit to clean your erasers every day by clapping them together to remove excess chalk, followed by a wipe-down with warm water.
Choose the Right Eraser
Opt for an all-felt eraser, as it effectively removes chalk, leaving you with a cleaner surface to work on.
Non-Abrasive is the Way to Go
For stubborn stains, stick to non-abrasive cleaners to preserve the quality of your chalkboard surface.
Don’t Write on a Damp Surface
A cardinal rule when it comes to chalkboard maintenance is to avoid writing on a wet surface. The chalk will adhere more firmly, making it much harder to erase later.
Specialized Cleaning Tools
If you’re serious about maintaining your chalkboard, invest in special chalkboard cleaning cloths. Available at most teacher supply stores, these cloths offer a convenient and effective way to keep your board clean.
Beware of Ghosting
Chalk residue that’s left behind even after cleaning can create a ‘ghosting’ effect, which can accumulate over time and affect visibility. Knowing how to clean a chalkboard thoroughly helps in preventing this issue.
Make Smart Choices with Smart Chalkboard Paint
If you’re looking for a durable, easy-to-maintain chalkboard surface, Smart Chalkboard Paint offers a cost-effective, environmentally friendly option that seamlessly integrates into any space.
By investing a little time in understanding how to clean a chalkboard, you not only extend its life but also enhance its usability. With these tips and your newfound knowledge on chalkboard maintenance, feel free to write, draw, and brainstorm to your heart’s content. Happy writing.

by sefali | Oct 19, 2020 | Blog
In today’s fast-paced world, your workspace needs to be as dynamic and flexible as you are. A whiteboard desk is the game-changer you didn’t know you needed. Not only does it make your office or classroom more interactive, but it also helps in keeping you organized. Forget Post-its and scribbles on notepads; write directly on your desk and erase when done. The question that arises now is, “How do I turn my desk into a whiteboard?”
Benefits of Having a Whiteboard Desk in the Office
A whiteboard desk is not just another desk; it’s a productivity powerhouse. Imagine being able to jot down your to-dos, sketch out ideas, or even write down phone numbers directly onto your desk. Not only is it a fun way to take notes, but it’s also incredibly convenient.

- Clutter-Free Workspace: Erase your scribbles when you’re done, and your desk is as clean as new! Say goodbye to a messy desk filled with papers and sticky notes.
- Environmental Benefits: Not only are you saving paper, but you’re also contributing to a more sustainable workspace.
- Enhanced Collaboration: Team meetings become more interactive and productive when everyone scribbles their thoughts onto the table.
Reinvent your workspace with Self Adhesive Whiteboard Film. This high-performing film from Smarter Surfaces transforms any piece of office furniture into a dry erase surface without any hassle.
How a Whiteboard Desk Can Transform Education
Schools are increasingly realizing the benefits of integrating a whiteboard desk into classrooms. The versatility it provides is unmatched.
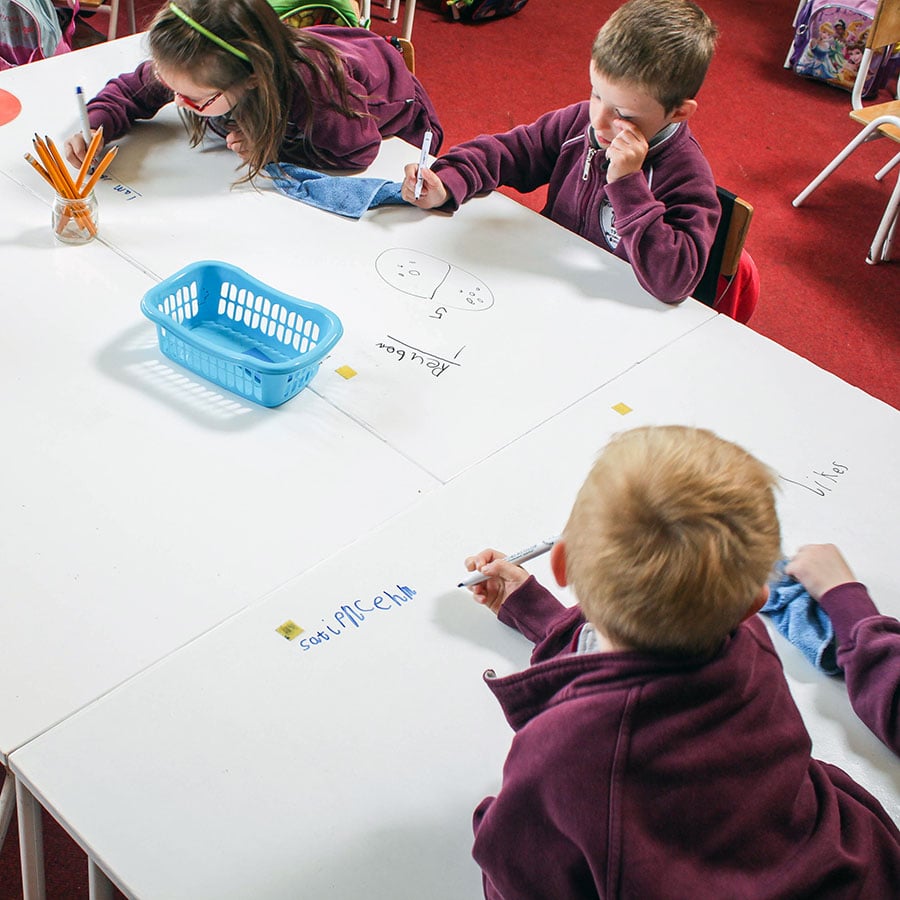
- Engagement: Students can perform calculations, write answers, and even draw right on their desks. It makes the learning process interactive and fun.
- Sustainability: Like in an office setting, using a whiteboard desk in educational environments also significantly reduces paper waste.
- Convenience for Educators: Teachers can use their own writable desks for creating lesson plans, to-do lists, or leaving notes for the next teaching day.
If you’re looking to turn desks into writable, projectable surfaces, consider using Smart Self Adhesive Projection Whiteboard Film – Low Sheen. Not only does it convert the desk into a writable surface, but it also allows for projections, enhancing the educational experience.

How to Turn Your Desk into a Whiteboard Desk: Step-by-Step Guide
Wondering how to convert your standard desk into a functional whiteboard desk? Let’s break down the process using Smart Self Adhesive Whiteboard Films. The films come in three types: White, Clear, and Projectable. Each offers its own set of benefits, from easy installation to compatibility with various projectors.
Step 1: Prepare The Surface
Before you get started with the transformation, ensure the surface of your desk is suitable for Smart Self Adhesive Whiteboard Films. Your desk surface should be smooth, non-absorbent, and clean. This ensures that the film adheres perfectly so the result is a seamless whiteboard desk.
Step 2: Measure & Cut Self Adhesive Whiteboard Desk Film
Measure the dimensions of your desk carefully. Cut the Smart Self Adhesive Whiteboard Desk Film to fit the required area, leaving an extra 2 cm around each edge for trimming to your new whiteboard desk.
Step 3: Apply Whiteboard Desk Film
Smart Self Adhesive Whiteboard Films are self-adhesive and come with a removable backing. Begin the application by placing the film, without removing the backing, over your desk. Then:
- Start removing the backing uniformly, about 8-10 cm at a time.
- Use a microfiber cloth to press the film evenly onto the desk surface, making sure no air bubbles are trapped.
- Continue this process, pulling the backing away as you go along.
If air bubbles do form, simply peel back the film gently, remove the air bubble, and continue.
Step 4: Trim to Size
Using a very sharp knife or blade, cut the film at a 45-degree angle, using the edge of the surface as a guide. This will help you get a smooth, clean edge.
Step 5: How to Joint Whiteboard Desk Films
If your desk is large and requires more than one sheet of whiteboard desk film, you’ll need to joint the films. Here’s how:
- Apply the first section of film as described above.
- Overlap the second section by about 3 cm.
- Double-cut through both layers of the film at the center of the overlap.
- Remove the trimmed material and the backing from the second section.
- Use a microfiber cloth to press the material back together tightly.
Transform any surface with Smart Self Adhesive Whiteboard Film – Clear. Ideal for maintaining the original look of your desk while adding functionality, this transparent film is a great choice.
Step 6: Maintain Your Surface
Your new whiteboard desk needs maintenance just like any regular whiteboard. Use high-quality markers and cleaning fluids for the best experience.
How to Choose the Right Whiteboard Film for Your Desk
Now that you know how to apply a Smart Self Adhesive Whiteboard Film, you might be wondering which type of film is best suited for your needs to create your whiteboard desk. The answer depends on various factors such as whether you’ll be using projectors, the desk material, and your personal aesthetic preferences.
For Immediate Transformation
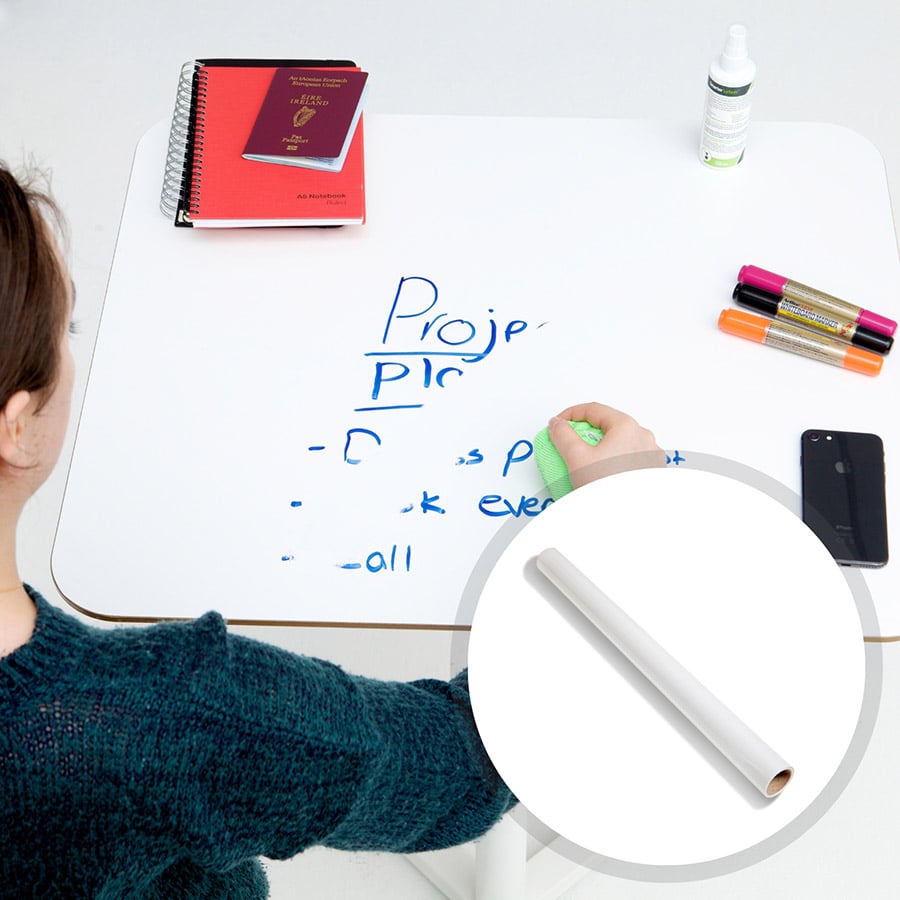
In cases where you are looking for immediate results with the least amount of fuss, our standard Self Adhesive Whiteboard Film offers easy installation and immediate usability. Perfect for those who want to quickly turn their desk into a whiteboard desk without worrying about additional features like projection capabilities.
For Preserving the Original Look of Your Desk

For those who want to maintain the original color or design of the desk, Smart Self Adhesive Whiteboard Film – Clear is an excellent choice. This transparent film turns your desk into a functional whiteboard desk without altering its look.
For Projection Capabilities
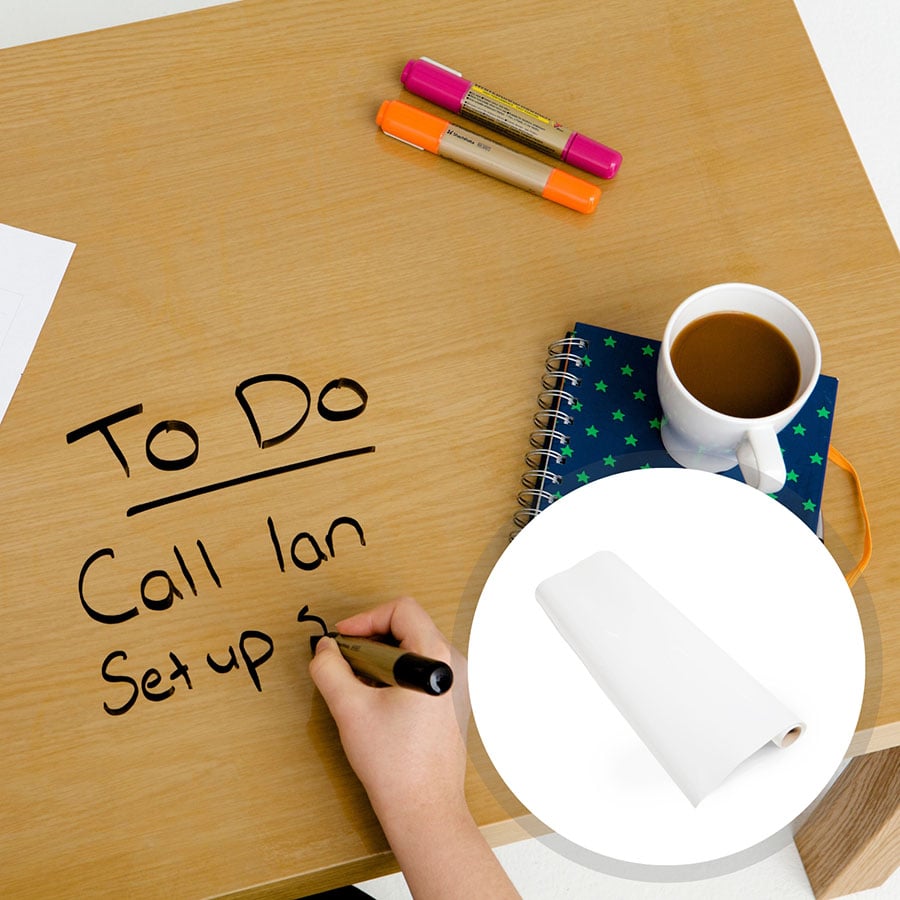
If you’re in an educational setting or an office where you anticipate projecting visuals onto the desk, Smart Self Adhesive Whiteboard Film – Low Sheen is your go-to option. It is designed to be both writable and projectable, offering an interactive experience unlike any other. Its compatibility with various projectors also makes it a versatile choice.
Maintenance and Care for Your Whiteboard Desk
Once you’ve successfully turned your desk into a whiteboard desk, you’ll want to make sure it lasts a long time while maintaining its functionality.
- Use the Right Markers: Always use high-quality, non-permanent markers for best results. Low-quality markers may stain the surface.
- Cleaning: Use a whiteboard cleaner or a damp cloth to remove the writings. Do not use abrasive cleaners as they can damage the surface.
- Regular Checks: Make it a habit to check the surface regularly for any wear and tear. Any damage should be repaired immediately to extend the lifespan of your whiteboard desk.
Environmentally-Friendly and Sustainable
One of the most appealing benefits of a whiteboard desk is its environmentally friendly nature. Not only are you reducing paper waste, but these films are also stain-resistant, odor-free, and contains no volatile organic compounds (VOCs). Apply with ease, even with people in the same room.
The Whiteboard Desk Revolution
The traditional workspace and classroom are undergoing a transformation, and the whiteboard desk is at the forefront of this revolution. Whether in an office setting, where project planning and brainstorming are integral, or in educational institutions, where engagement and interaction are key, a whiteboard desk serves as an innovative tool for modern-day needs.
The journey to turn your desk into a functional whiteboard desk is simple, quick, and incredibly rewarding. All it requires is choosing the right kind of Smart Self Adhesive Whiteboard Film and following a few simple steps to apply it. And voila; your very own whiteboard desk is ready to elevate your productivity and transform how you work or learn.

by sefali | Oct 19, 2020 | Blog
When it comes to creative brainstorming and strategic planning in a modern workspace, having the right kind of writable surface is crucial. The age-old debate of “glassboard vs whiteboard” has often left people scratching their heads. With each type of board having its unique set of features, it can be challenging to determine which one best suits your needs. In this comprehensive guide, we dive deep into the pros and cons of both options to help you make an informed choice.
What Are the Disadvantages of Glassboards?
Although glassboards exude a sleek and modern appeal, they’re not without drawbacks. For instance, incorrect installation can cause the glassboard to fall or break, leading to costly repairs. While professional glassboards come with templates for installation, these aren’t always accurate. Tempered glass, though strong, can still shatter and pose a risk.
Glassboards are more expensive and can be cumbersome to transport due to their weight and rigidity. Lastly, although they are less prone to ghosting compared to traditional whiteboards, if markers are left on too long, glassboards can still exhibit some ghosting.
What is the Difference Between a Whiteboard and a Glassboard?
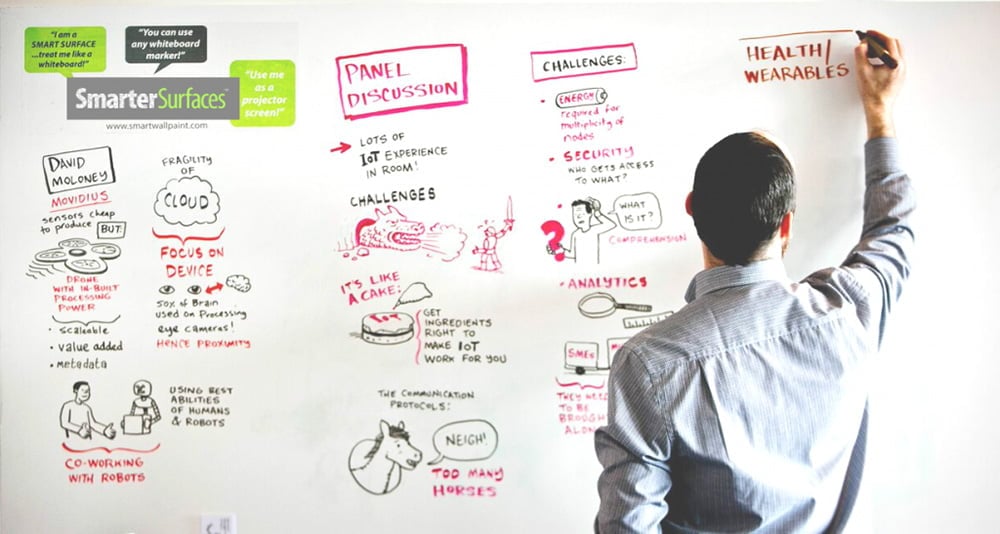
When considering the question of “glassboard vs whiteboard,” one of the significant differences lies in the ease of installation. Whiteboard Paint, for example, is incredibly easy to apply. You can transform any wall into a dry-erase surface with just a single coat, whereas installing a glassboard will require multiple professionals to hang it.
Color options are another area where differences are noticeable. Glassboards generally come in see-through designs, although colored variants are available. On the other hand, Whiteboard Paint is available in white and clear coats, allowing you to create a writable surface in any color you wish.
What Are the Advantages of a White Glass Board?
If you’re looking for a middle ground in the glassboard vs whiteboard debate, a white glassboard could be the perfect solution. Combining the best of both worlds, white glassboards offer the sleek and modern design of glass while providing a more vibrant background for your markers, unlike the see-through nature of traditional glassboards.
But what if you could enjoy similar benefits without committing to a glass surface? Whiteboard Paint offers you the flexibility to turn any smooth surface into a vibrant, easy-to-use dry-erase board. Much like a white glassboard, Whiteboard Paint offers a sleek, modern design and can be custom-tailored to fit your workspace. It’s a versatile option that could give you the best features of both glassboards and traditional whiteboards.
Does Glass Work as a Whiteboard?
The short answer is yes, glass can work as a whiteboard, but with some caveats. While they offer a high-quality writing experience, you may encounter issues with lighting and readability due to their transparent nature.

The Ghosting Issue
One frequent question that comes up when discussing a glassboard vs whiteboard is the issue of ghosting. Ghosting occurs when marker stains don’t completely wipe off, leaving a residual image. Glassboards are less susceptible to this issue. However, for a completely ghost-free experience, Whiteboard Paint offers a high-quality dry-erase surface that adheres to all US regulations and even offers a 10-year guarantee.
Aesthetics and Functionality
When it comes to the aesthetics in the glassboard vs whiteboard debate, glassboards often steal the spotlight with their high-gloss, frameless designs. They present a sleek and modern look that can elevate the ambiance of any workspace.
That said, at Smarter Surfaces, we are of the opinion that a matte finish looks better. Our Matte Whiteboard Paint offers all the benefits of traditional whiteboard paint but comes with added functional features. Unlike its high-gloss counterparts, Matte Whiteboard Paint has normal light reflectivity, reducing glare and making it easier to read and write under various lighting conditions. This addresses a common issue in the glassboard vs whiteboard conversation regarding readability under different lighting.
The matte finish can seamlessly integrate into any design scheme, ensuring you don’t have to compromise your space’s aesthetics. Moreover, Matte Whiteboard Paint is designed to be compatible with short-throw and ultra-short-throw projectors. This added projection functionality can be extremely useful in both educational and corporate settings, offering a versatile platform for presentations, collaborative learning, and brainstorming sessions.
Magnetic Capabilities
Both types of boards offer magnetic functionality, but they differ in strength. Glassboards usually provide this feature as an add-on, and it’s often not as strong as one would like for commercial settings. On the other hand, whiteboard paint can be purchased as part of our Magnetic Whiteboard Kit, offering a strong magnetic and whiteboard surface, perfect for office use. If you want even more magnatism, you can apply our Magnetic Paster as a base coat, and use whiteboard paint as a topcoat.
Cost-Effectiveness and Sustainability
If you’re on a budget, the “glassboard vs whiteboard” comparison tilts in favor of whiteboards. Whiteboard Paint is a cost-effective alternative that eliminates the need for investing in multiple boards or large-scale installations. Moreover, it contributes to a greener future by reducing paper waste and providing a long-lasting surface.
In the “glassboard vs whiteboard” debate, both options have their merits and downsides. Glassboards are sleek and modern but can be more challenging to install and are more expensive. Whiteboard Paint offers ease of application, cost-effectiveness, and a wide range of color options.
To unleash your team’s full creative potential, Whiteboard Paint could be the answer. It’s an ideal solution that offers unparalleled benefits, including boosting collaboration, maximizing efficiency, and providing a sustainable choice for any modern workspace.
